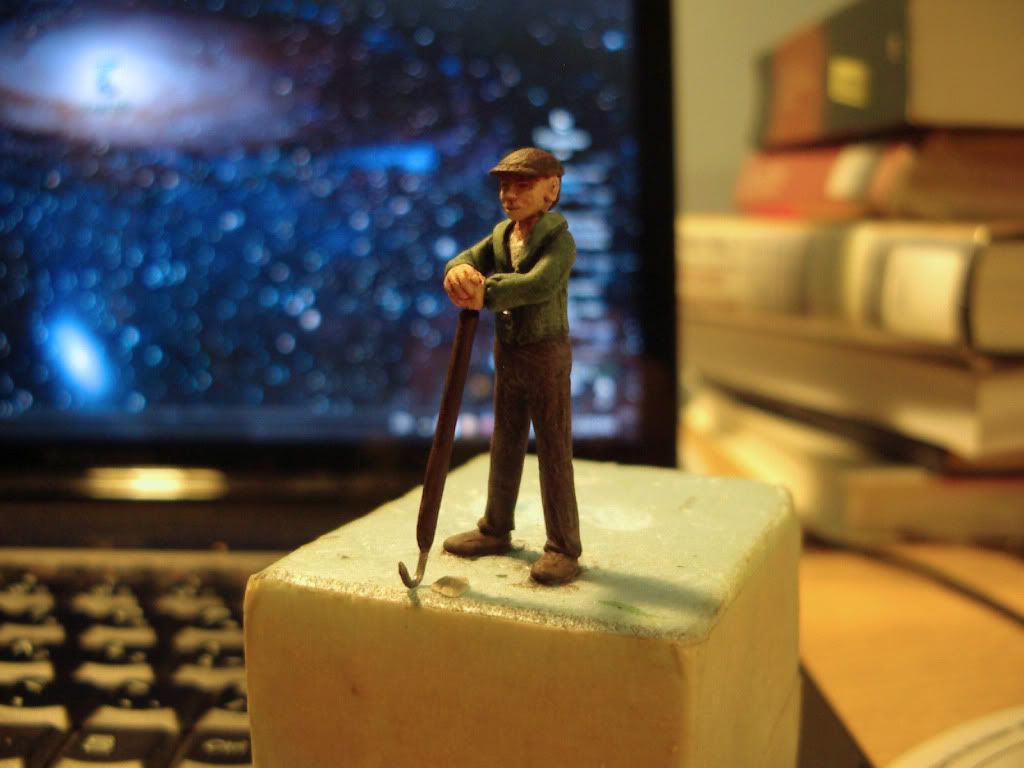
I finally finished painting the little dude who is going to hang out on top of my islands. He has a hoe.
That is all.
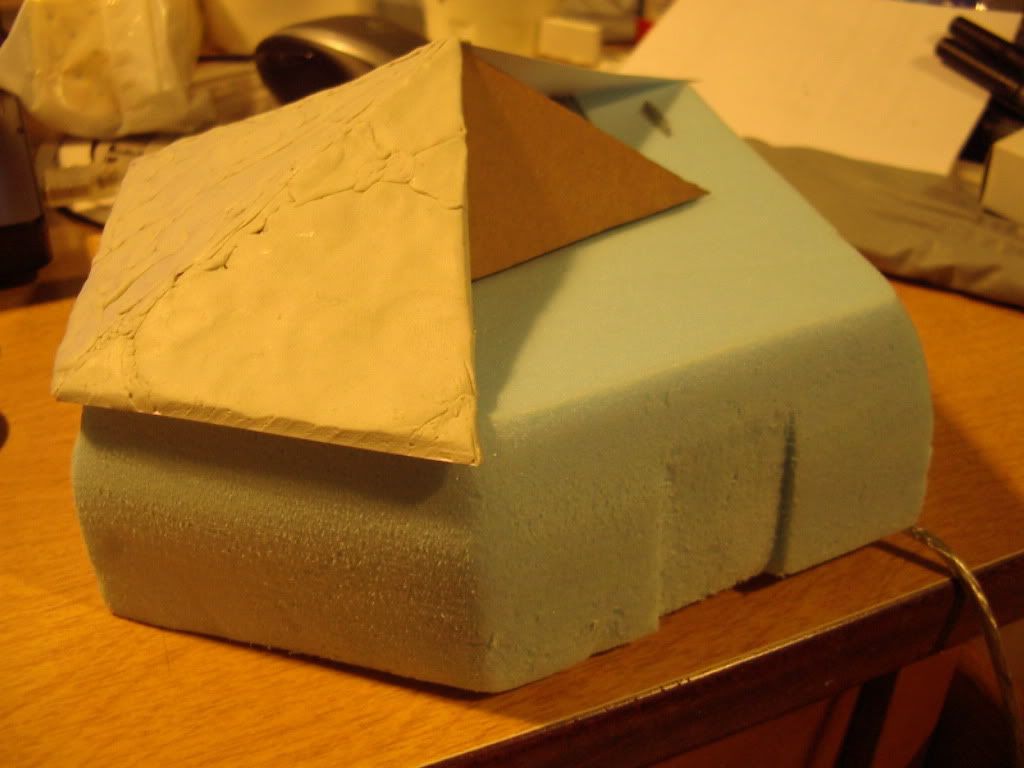 As a part of my Archipelago project which you may be aware of, I am making a little house for some of my little guys. Here it is as it currently sits. I am putting a roof on it so I can add shingles later on. You can also see the spot that will eventually hold the door. I also intend to put some windows on the outside.
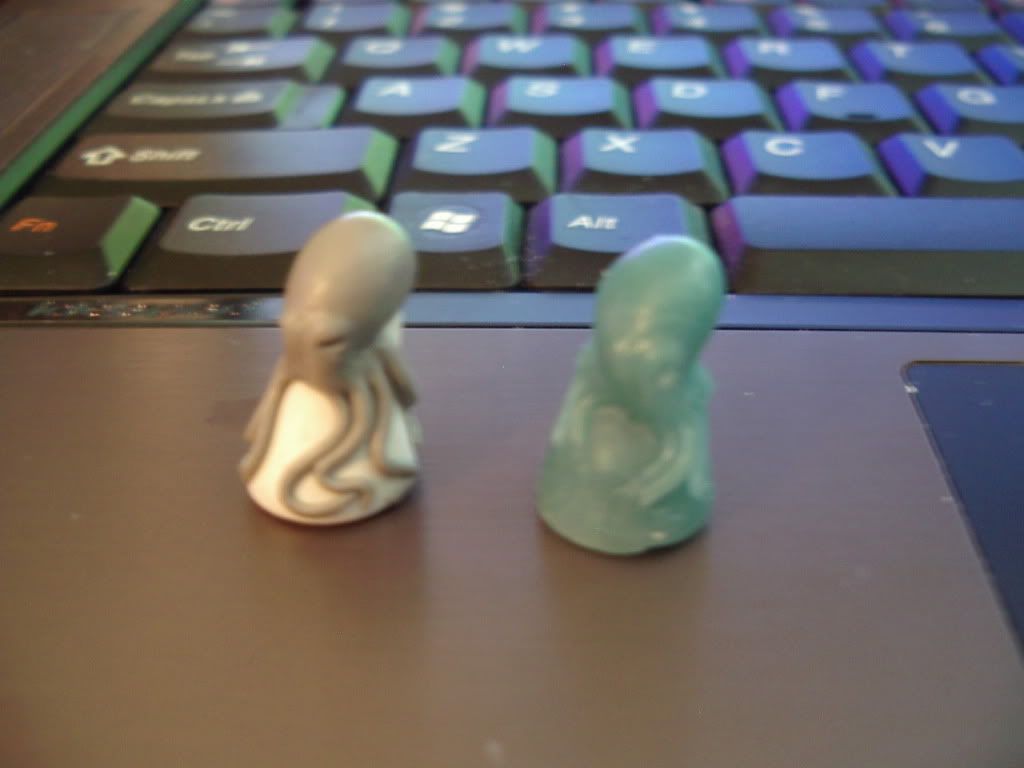

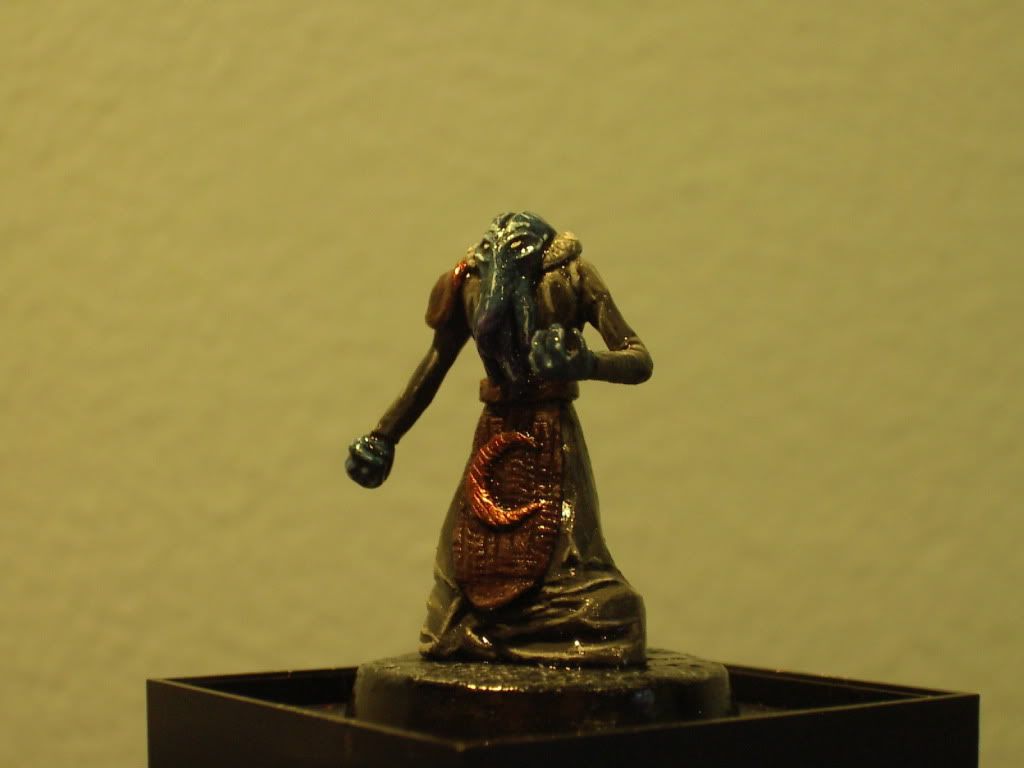
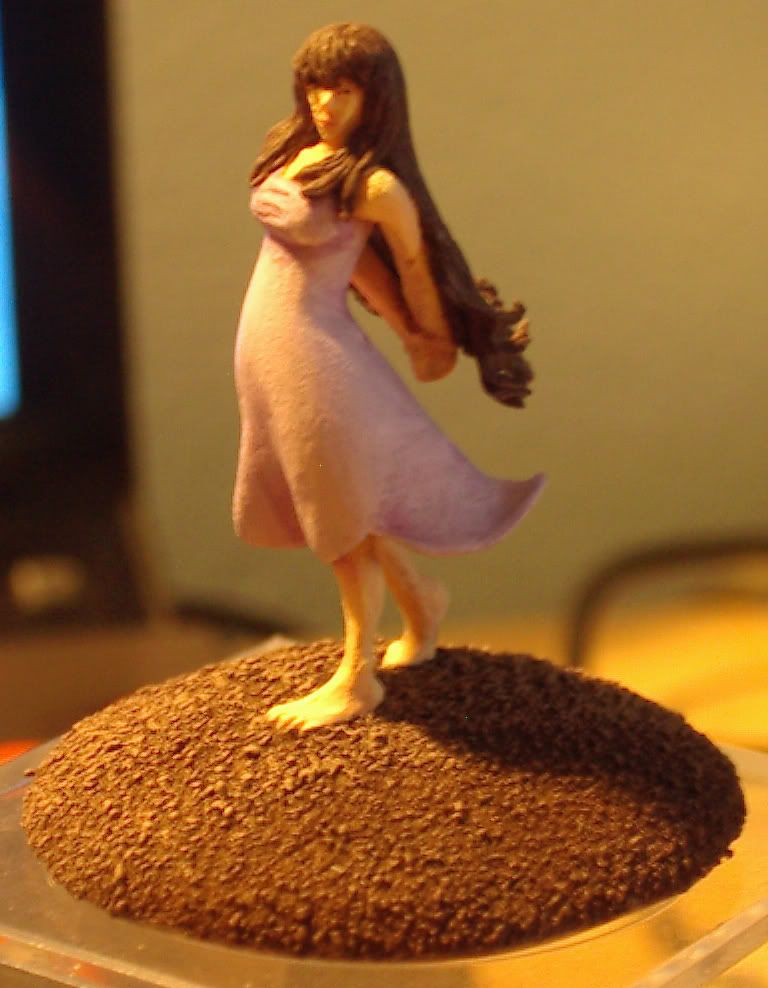
 Here is a piece of work that I "finished" some weeks ago. I believe it turned out well as I have been recognized by people who have seen this mini.
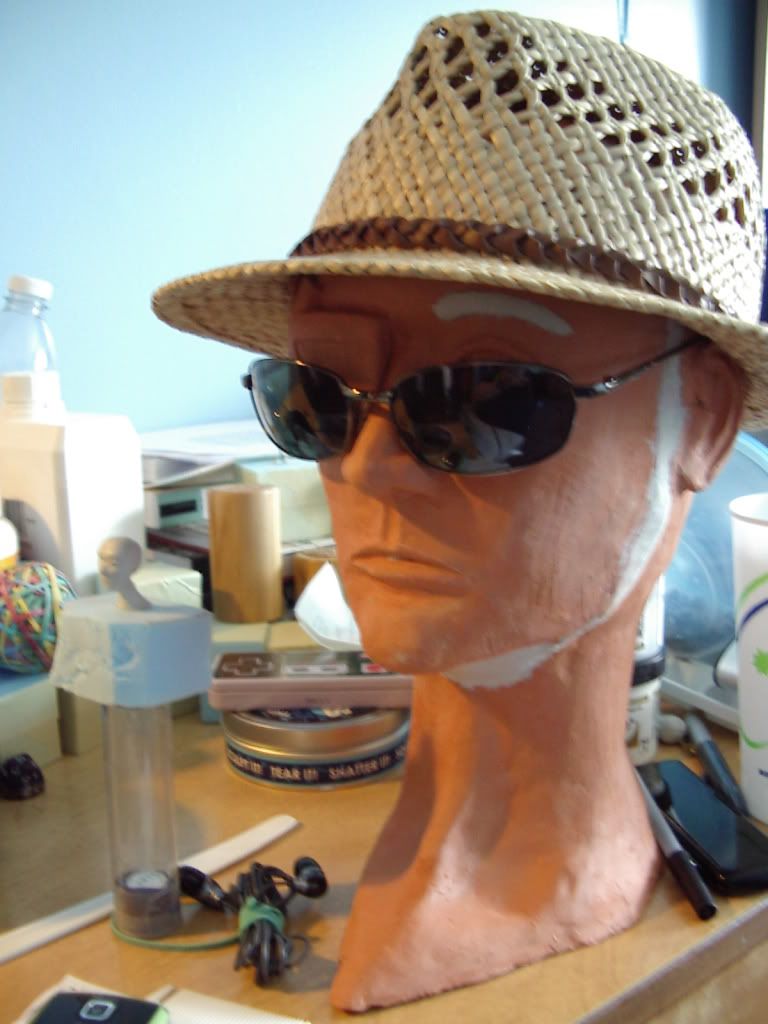
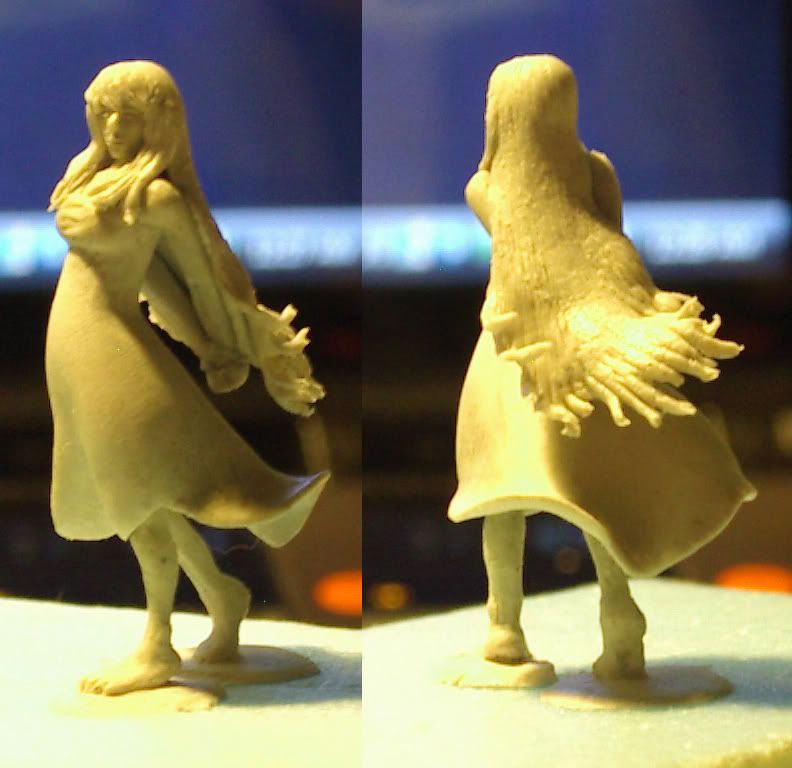
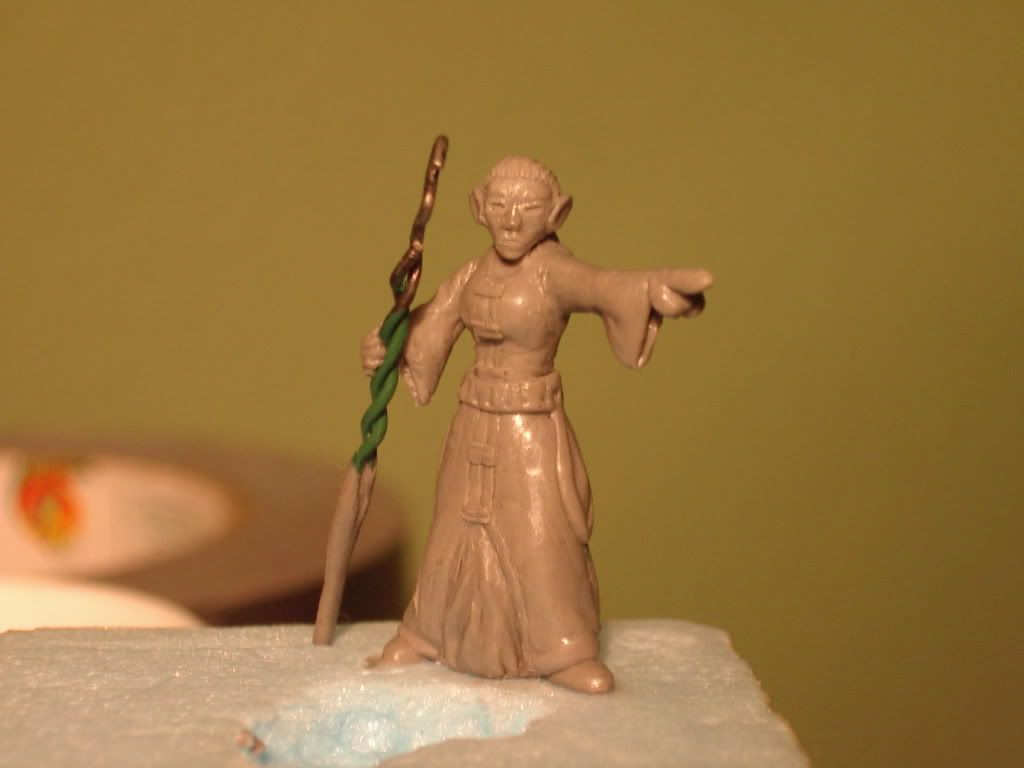
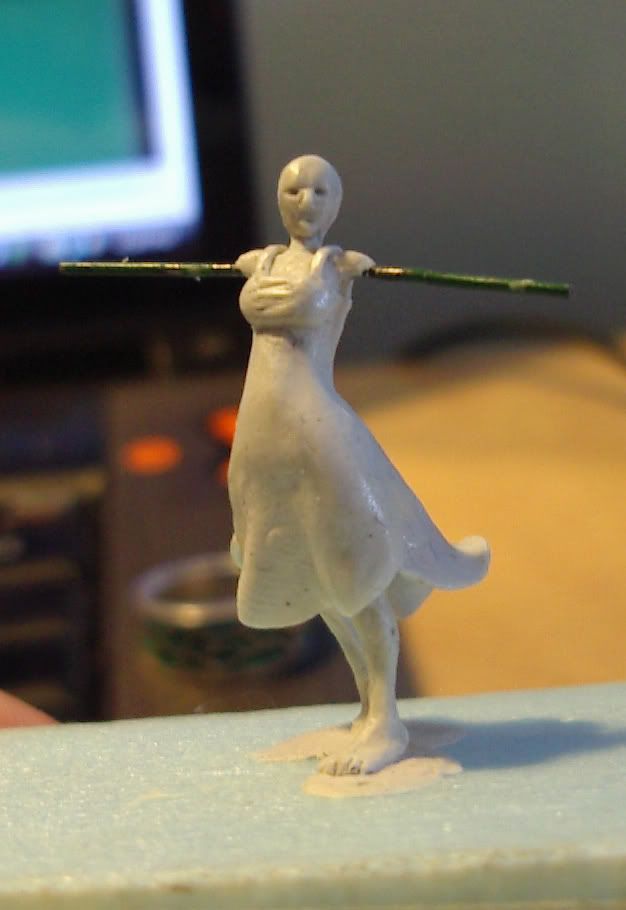 I'm currently working on a couple more mini projects. Pictured is my Emily mini as she stands now. I still need to file down her dress a bit, as there are lumps and seams here and there that need to go. Also, some places are a bit thick, making her look thicker than she should be. After I decide the dress is done, I'll finish up her facial features and give her arms, which are currently not even in their final placement. I'll finish her off with hair and paint, and I'll have my most detailed mini to date done!
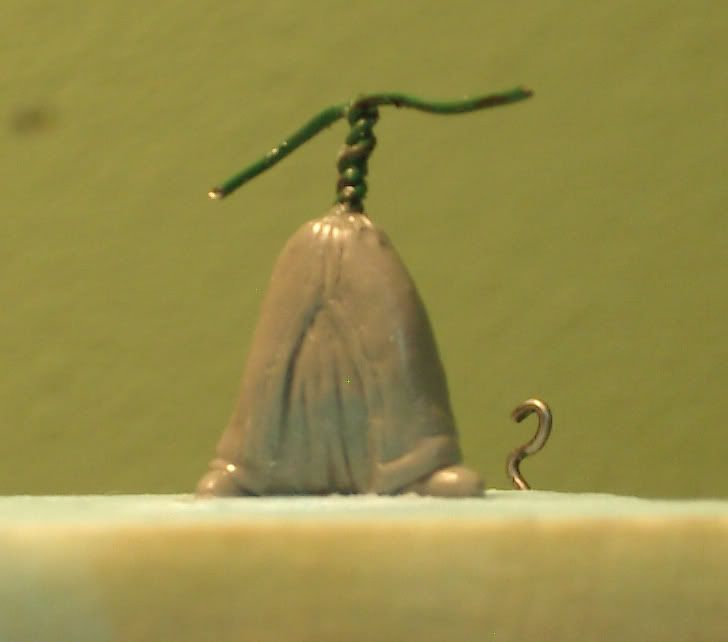
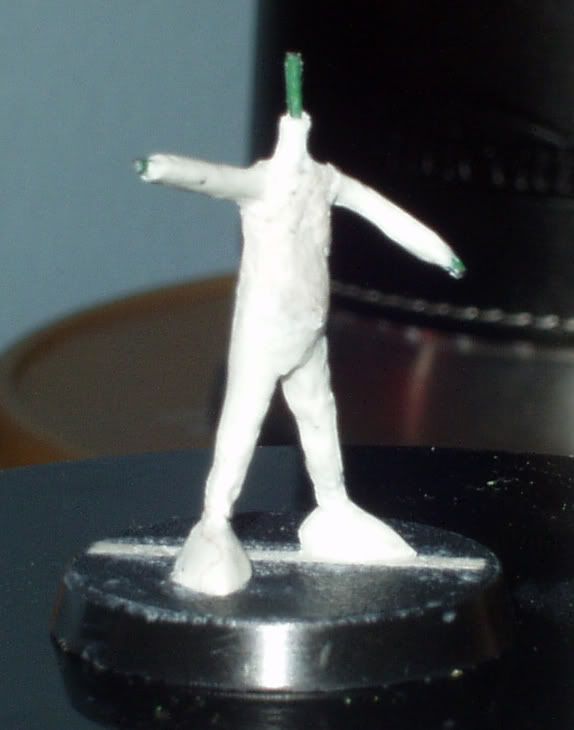 Now it all began with a wire armature which I made from Florist's wire. I attached this to a spare 20mm plastic base I had leftover from my various Games Workshop minis. This base, like many others, was slotted, so I filled in the slot with some spare epoxy putty. speaking of which, the entire mini is made from Apoxie Sculpt, a brand of epoxy putty. Not only does it work very well, but it smells DELICIOUS. As you can see, I gave him a basic body structure and shoes on Day 1.
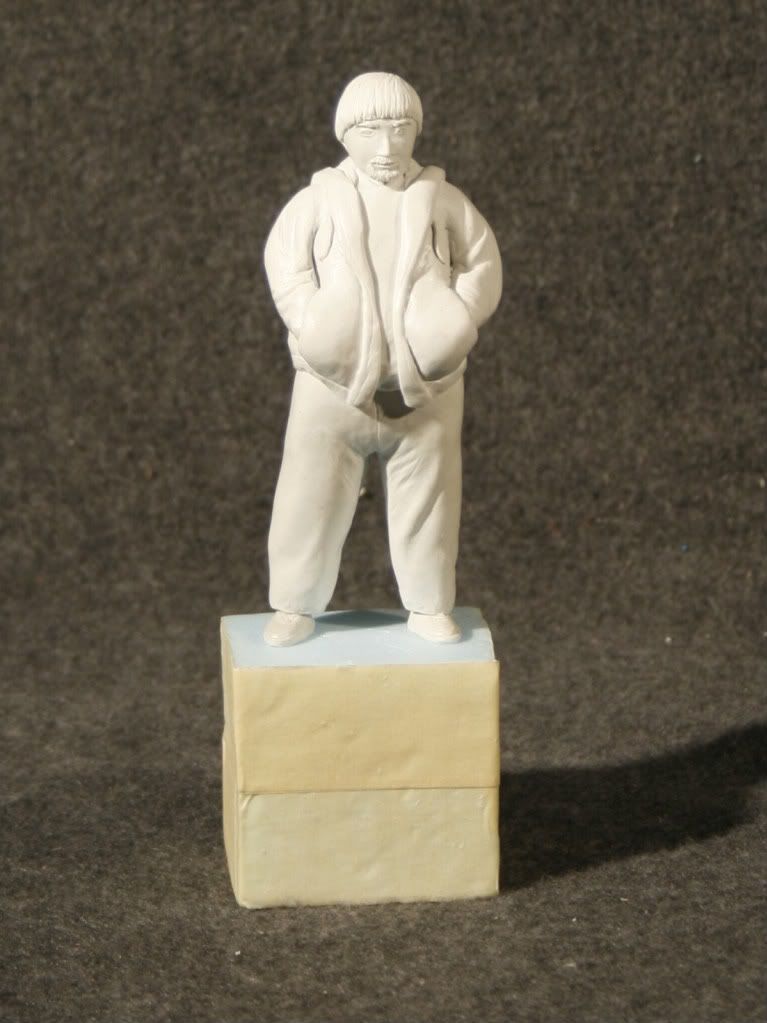
 Next up, Fred got hands and pants, which to me a least are both VERY important. This is where the detail started coming in. You can see the seams in his pants! That was really quite a trick to do, as it required a lot of precise exact-o knife work. I did what I could to get folds and wrinkles in there to make it look realistic. End Day 2.
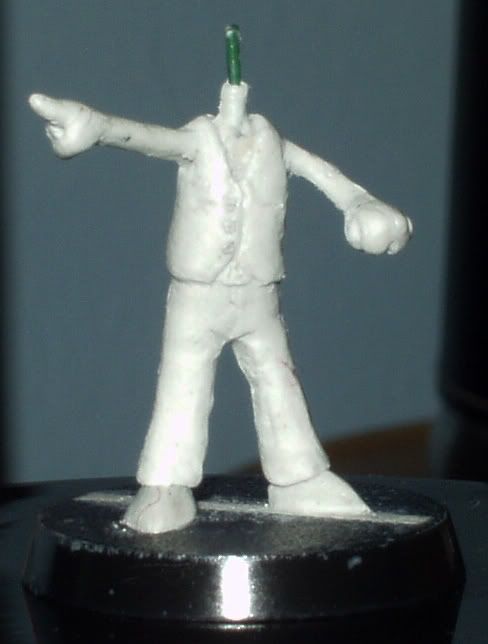 A stylish vest was next up on the list. It is complete with pockets, buttons, and a belt buckle. On this step, the buckle was by far the trickiest part. Not only is it tiny, but it's at right angles! Also, you can see that I didn't sculpt the pinstripes. Those were added later.
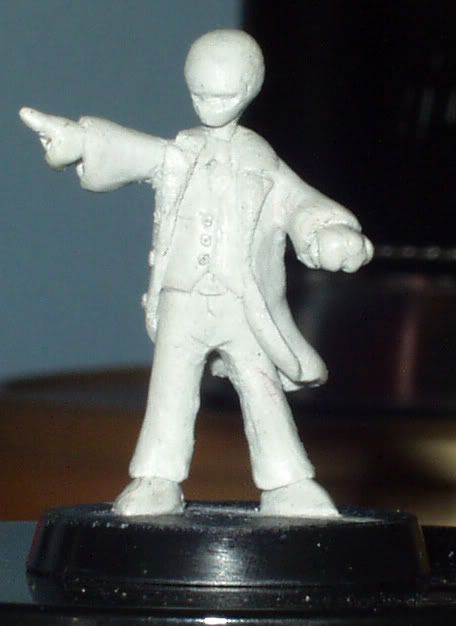 Day 4 was a productive one. Fred got a tie, a head, AND his trademark lab coat. The tail of his coat I sculpted to make it seem to be blowing in the wind. That was a little on the difficult side, but not so bad. Oh, his coat also has buttons. I left a crescent for his mouth so I could add his teeth the next day.
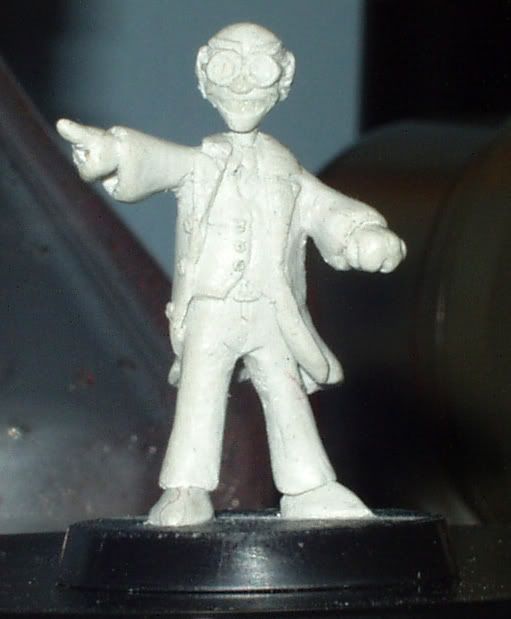 Next we have the most difficult part: Facial Features! Teeth, ears, nose, glasses, and eyebrows were all added. I went through one or two techniques before I figured out how to make his glasses look good. You'd be amazed at how many fiddly bits there are on a human face! There wasn't a single part of this step that WASN'T a trick to do! The ears were a real pain due to a cruel mistress called "symmetry," and the nose was just plain small! I digress...
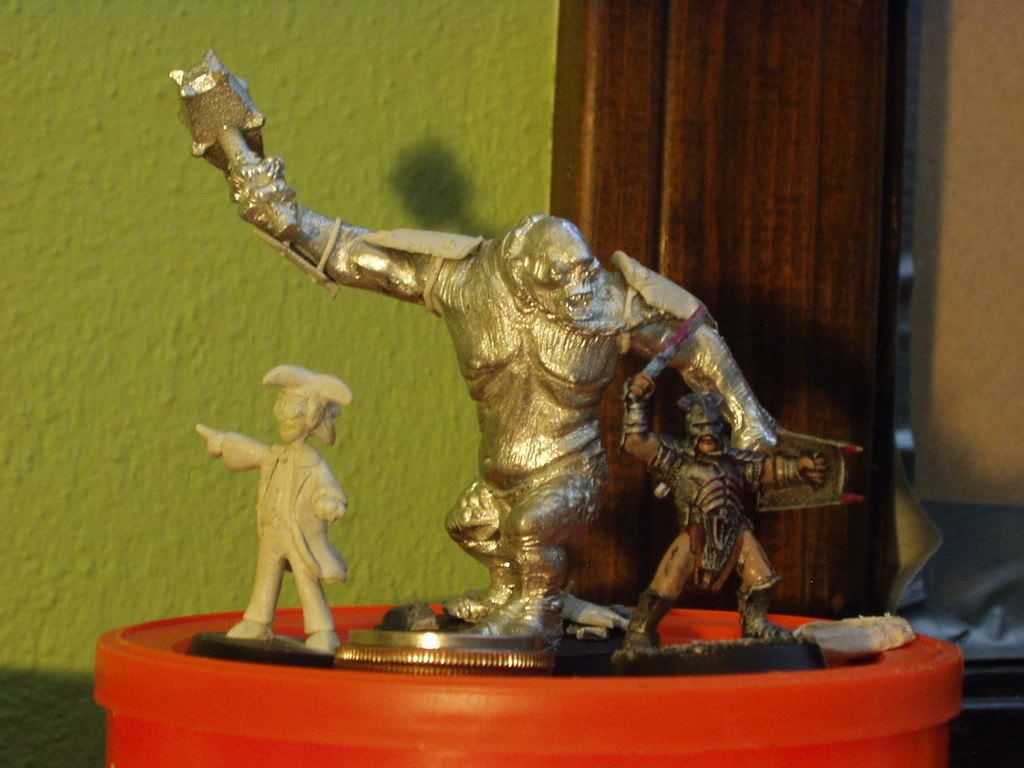 This step was actually quite a while after the previous steps. I had sculpted Evil Fred's hair, but I didn't like the way it turned out. Months later (pictured) I fixed and finished it off. You can also see my Cave Troll before it was painted. The whitish bits are the ones I added.
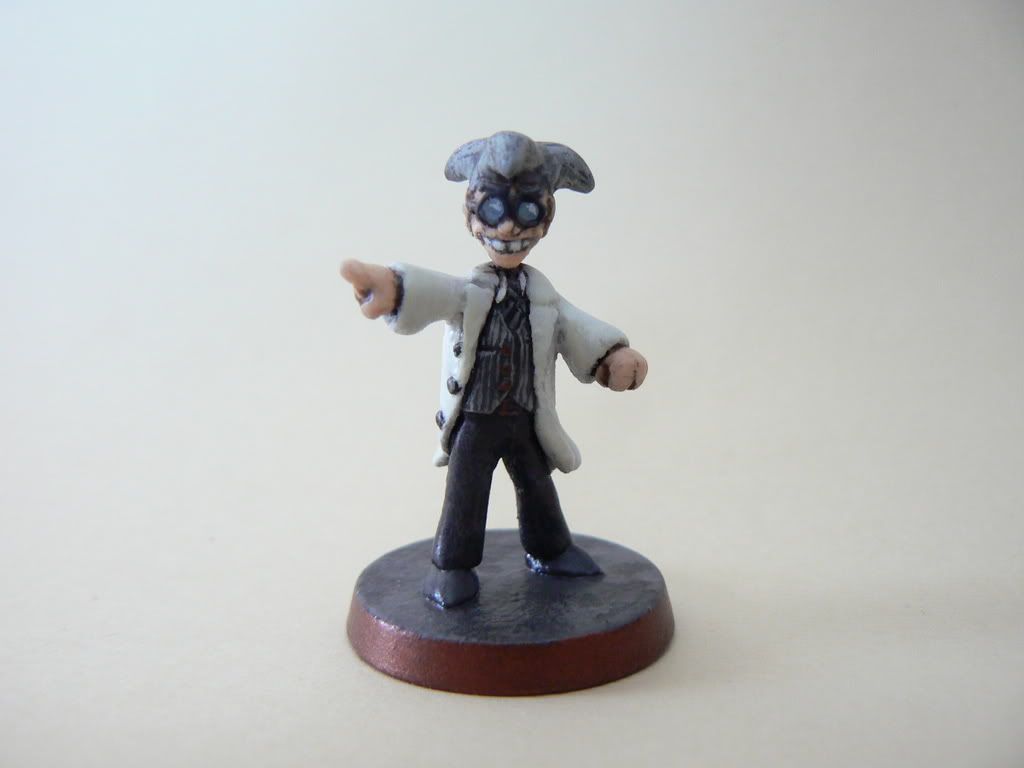 Here is the finished product. By the by, I use Wal-Mart bought acrylic hobby paint. Many say that miniatures paints sold by Games Workshop and a few other companies are the best, but there isn't a true difference. These paints work great and they are a fraction of the cost.
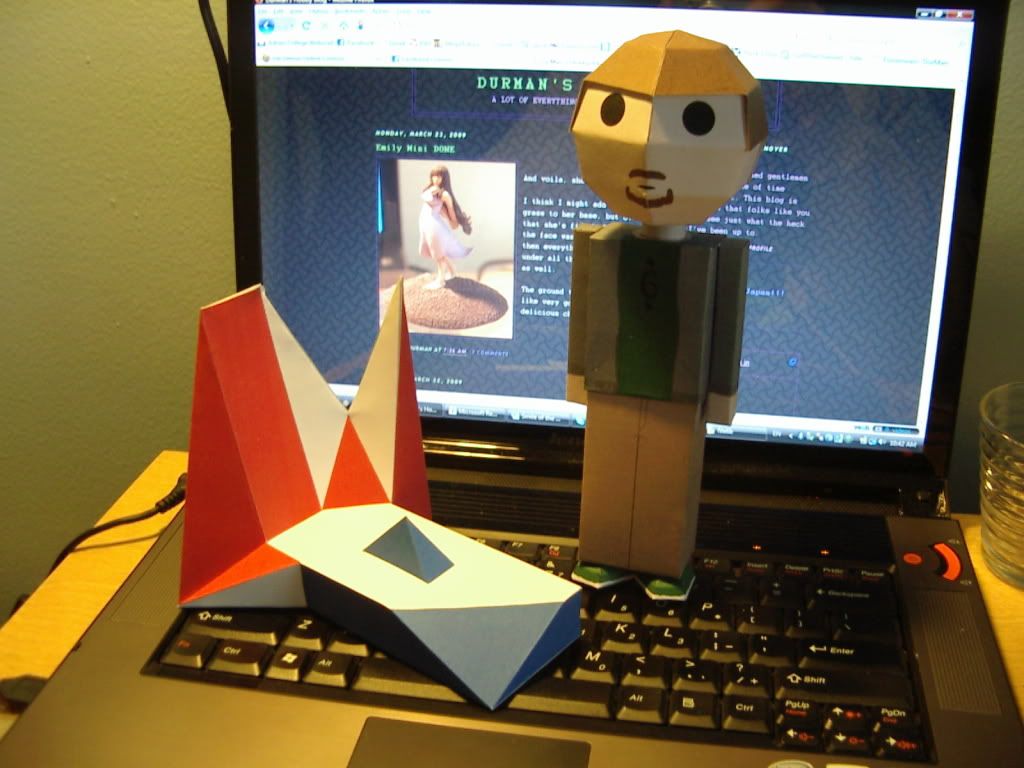
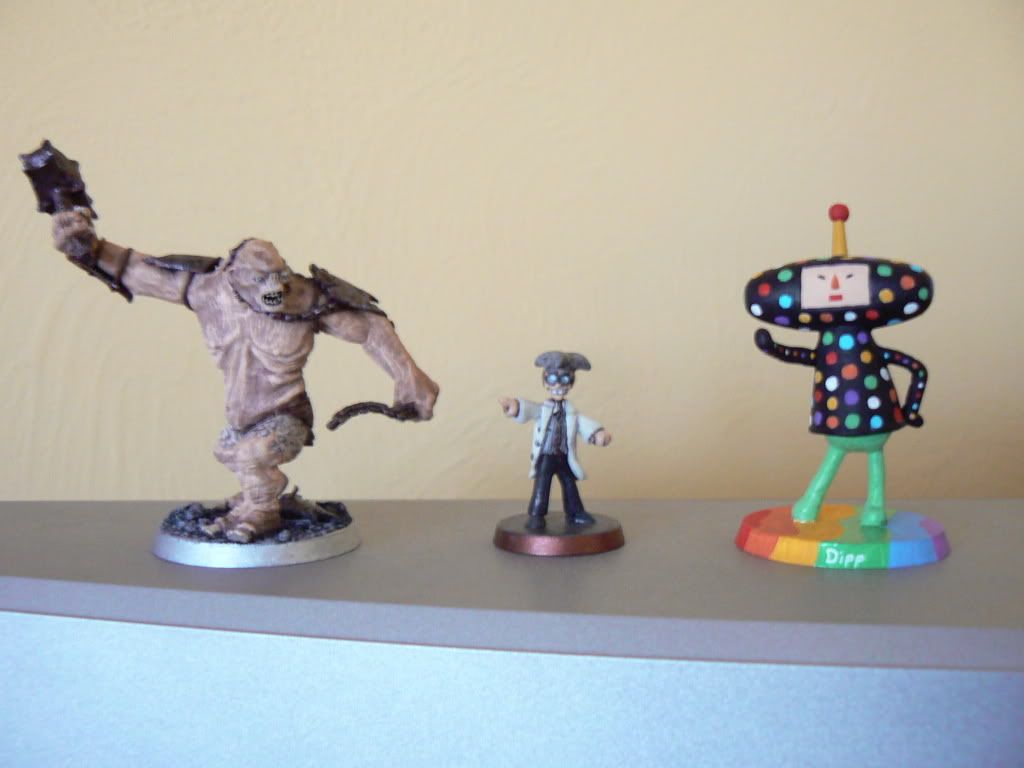 Here we have Evil Fred posing with my two newest projects: a Cave Troll from LotR and Dipp from Katamari Damacy.
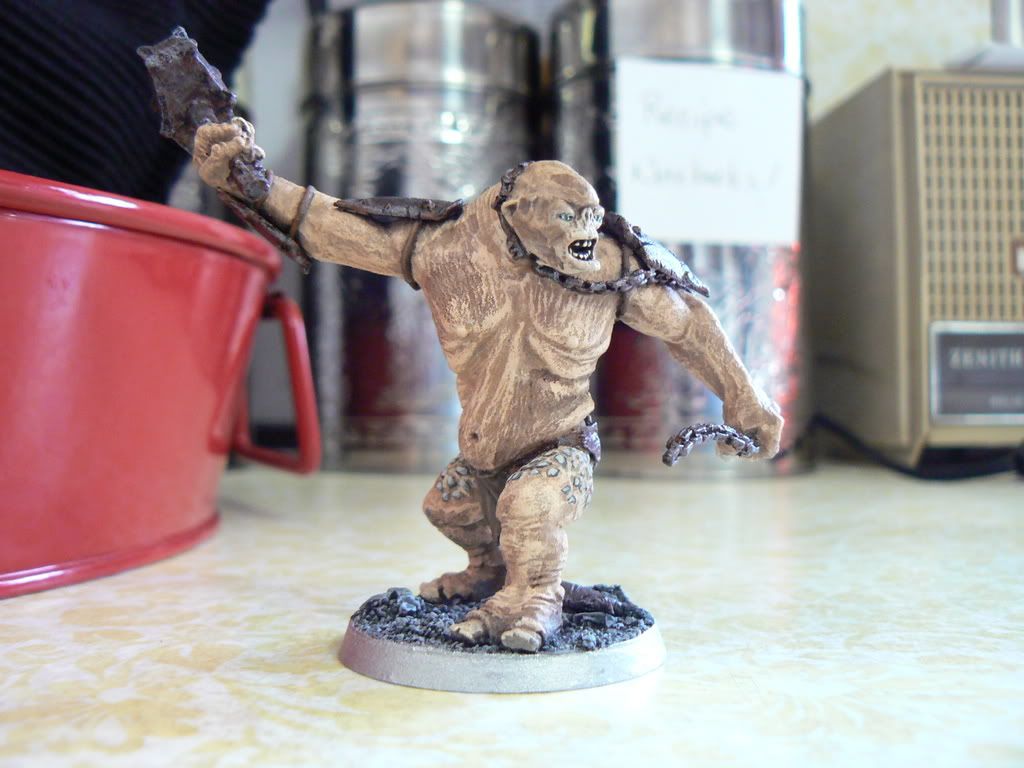 In any event, I put a black basecoat on him and promptly left for Japan. Upon my return I decided it was high time this guy got a paintjob. Breaking from Cave Troll standard (as seen in the movies), I decided that this troll was a cross breed made to survive in the sun (as Cave Trolls have a tendance to become giant rocks in sunlight). This is, I believe, mentioned in the books, so I shall contend it to be canon.
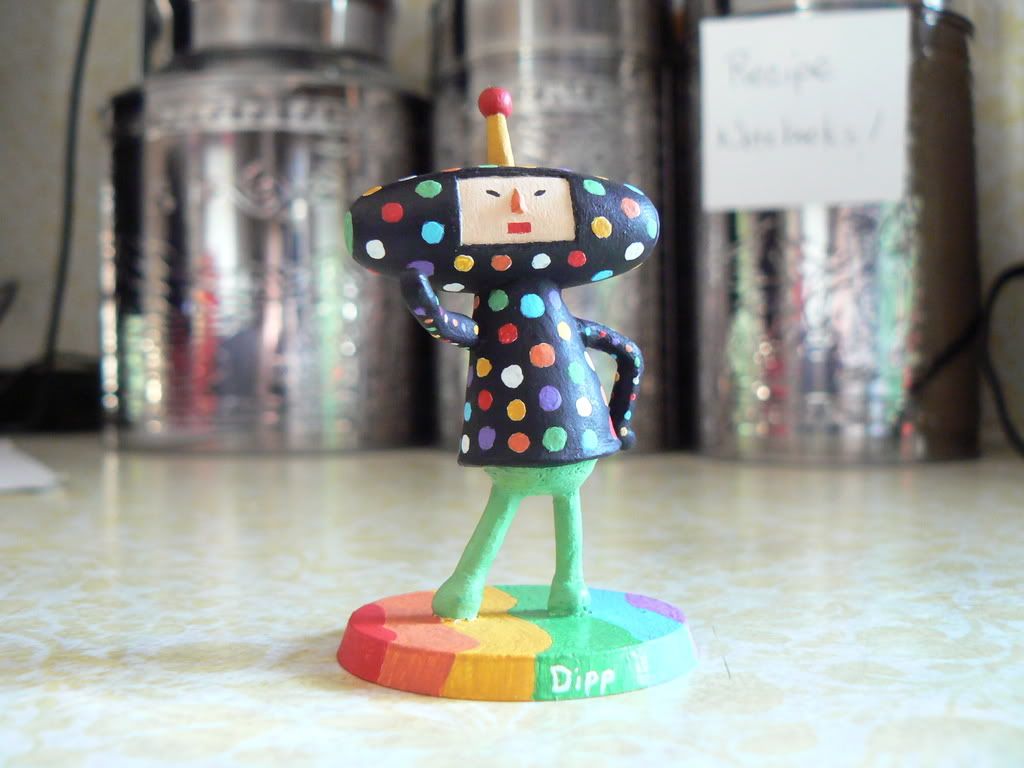 Dipp is made entirely from scratch, using a spare round base that I believe came with the Troll. I began with an epoxy putty head on a wire armeture. After applying his hips, I attached the model to the base. A few more gobs of epoxy putty and a little sanding later, and I had a finished model. I gave everything (save his pants) a black basecoat, then covered his shirt with white dots. Later I came in with the various colors to tinish off his blinking suit. All that remained to paint where his pants, antenna, and face (which was the only trick part due to his tiny eyes). Overall I am quite happy with the result.