
Here's my SackBoy, Reginald P. Sackerton. I love this pose, so I used it for my sculpt.
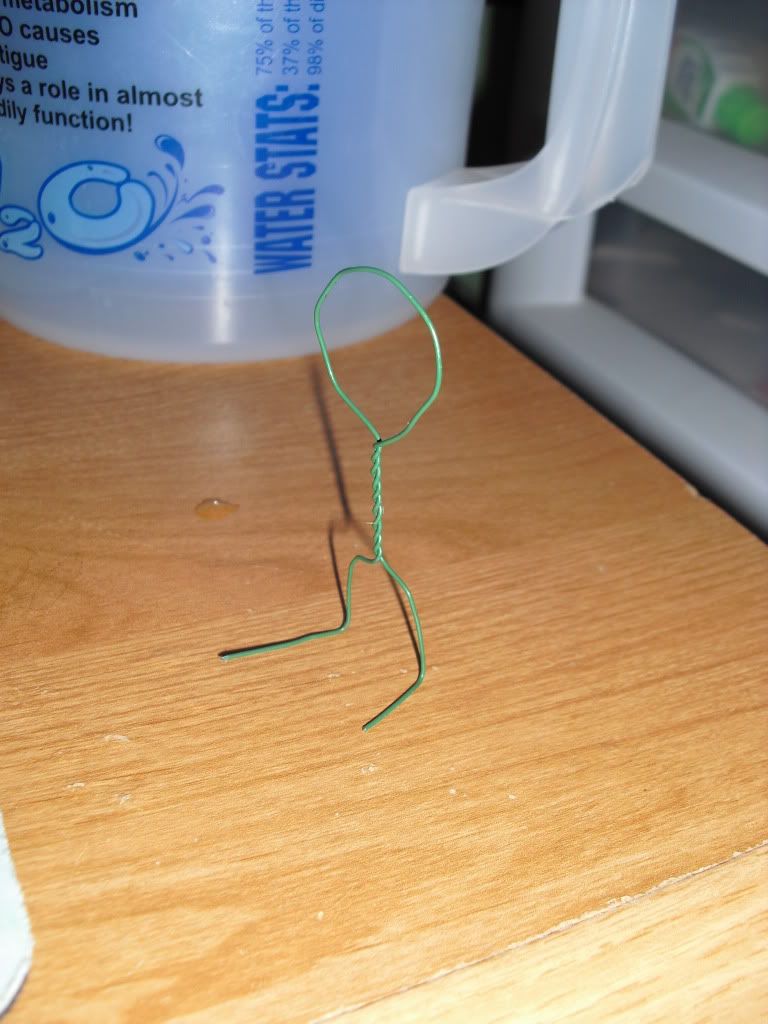
I started with a simple wire skeleton to build on, starting with the feet, legs, spine, and head.
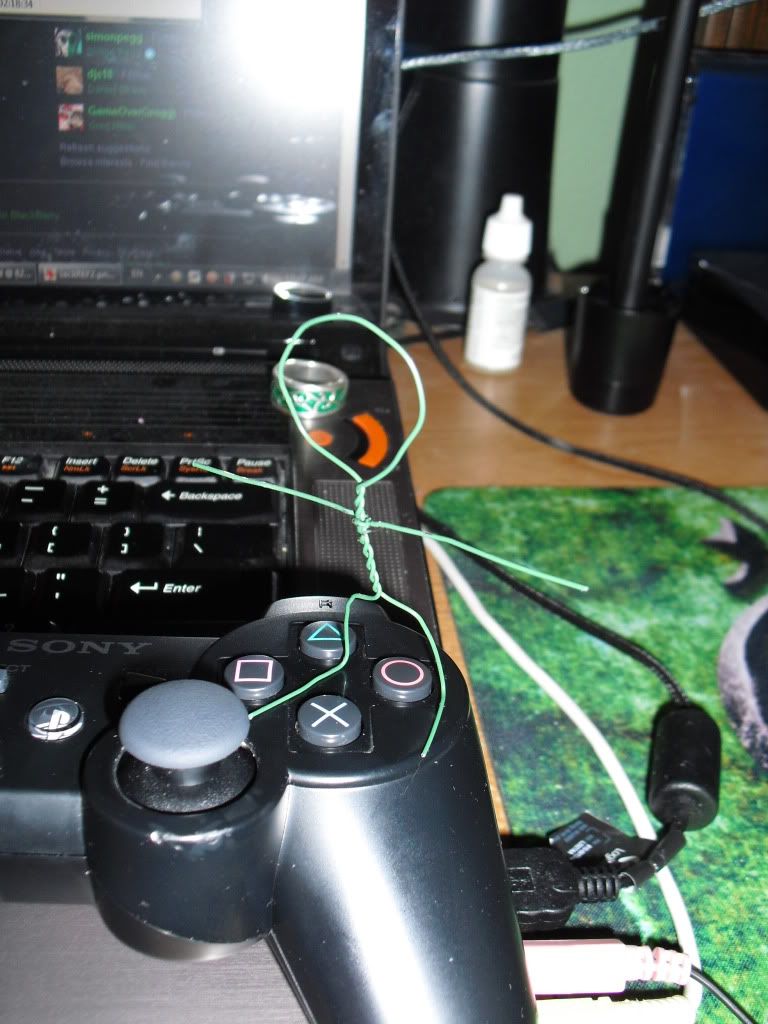
I then added a wire for the arms. I worked with a PS3 controller to make sure my scale was accurate. Turns out that SackBoy is officially 8cm tall, and that's what I ended up with by just going by eye.
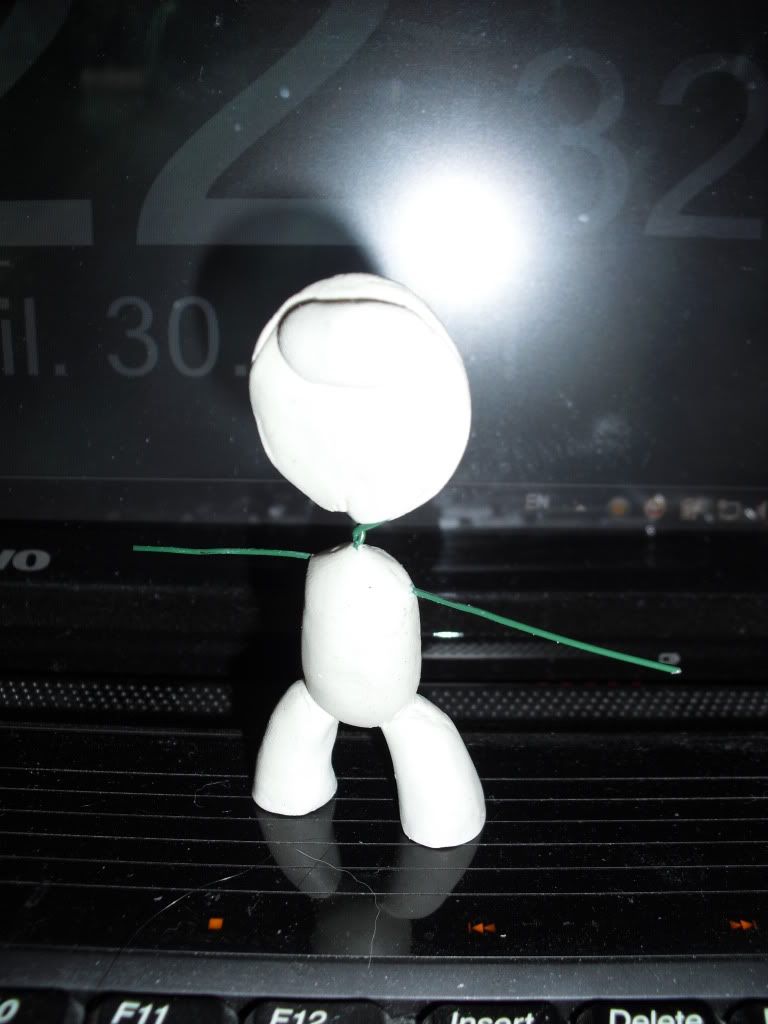
Added some meat to his bones. Legs are in place as well as most of the torso. I also filled in the ring of wire for his head with a disk of material to build on.
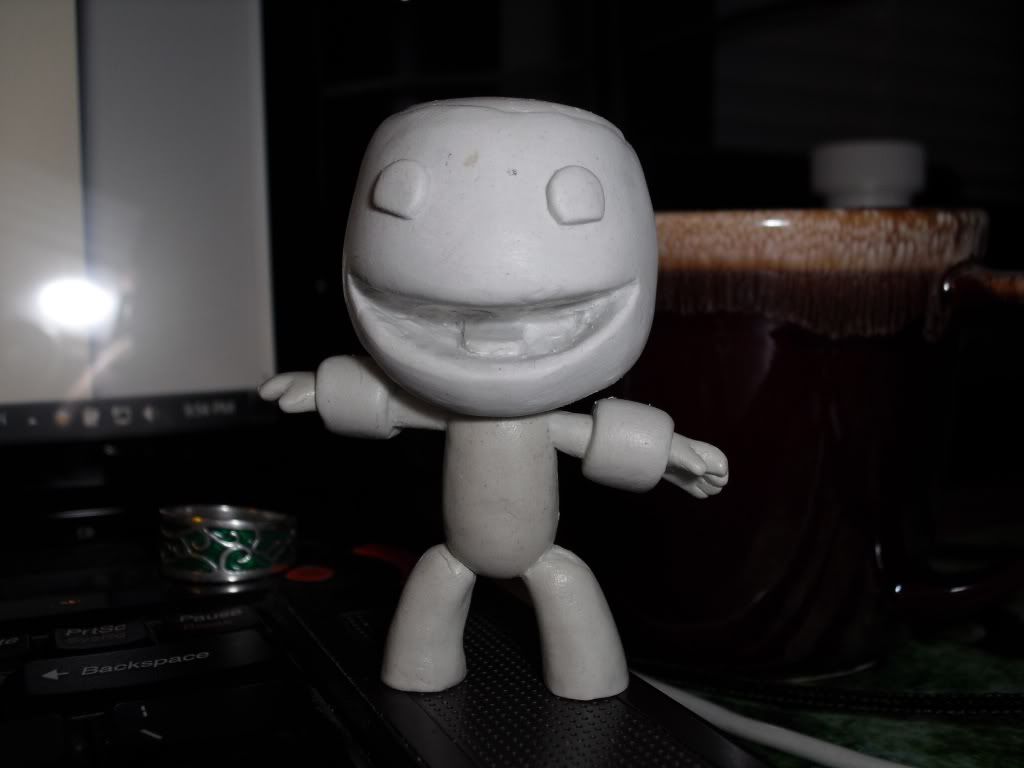
Here everything for the base SackBoy is in place, fingers and all. Yes, I went so far as to add all 5 of his little fingers on each hand. I also added the tongue and the sleeves for the coat.
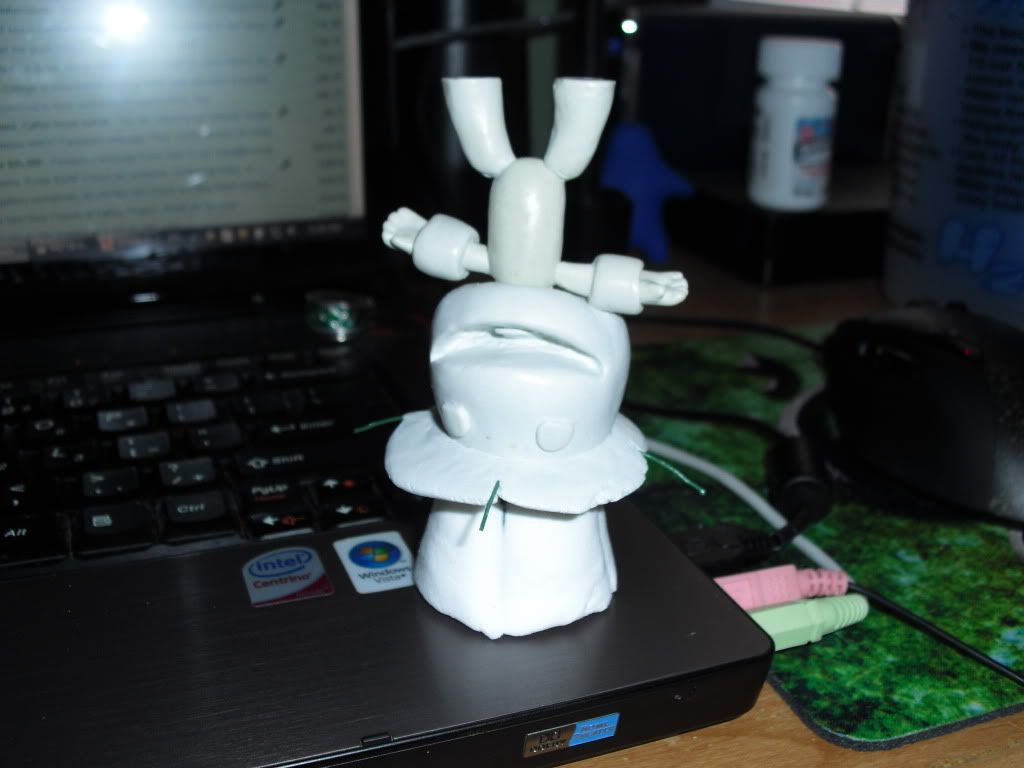
Adding the hat. I made a frame of wire for the crown and stuck it to his head and bulked it in with Spackle. I then added wires as guidelines for the shape of the brim.
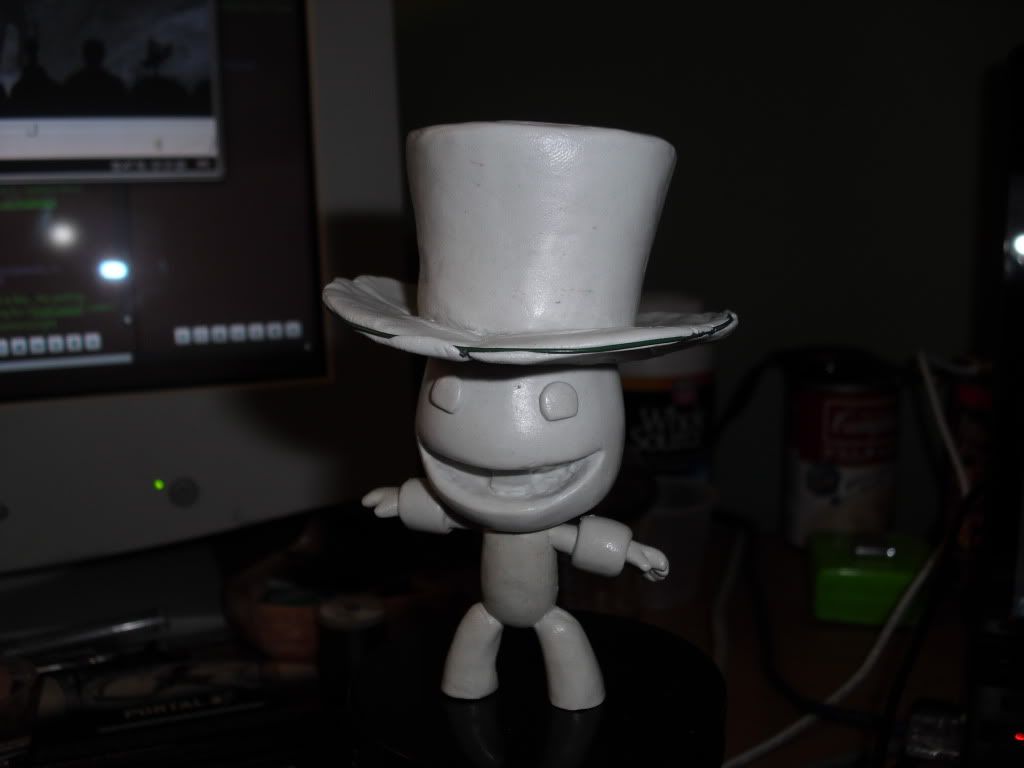
Covered the Spackle with clay and added a ring of wire around the brim as a guide.
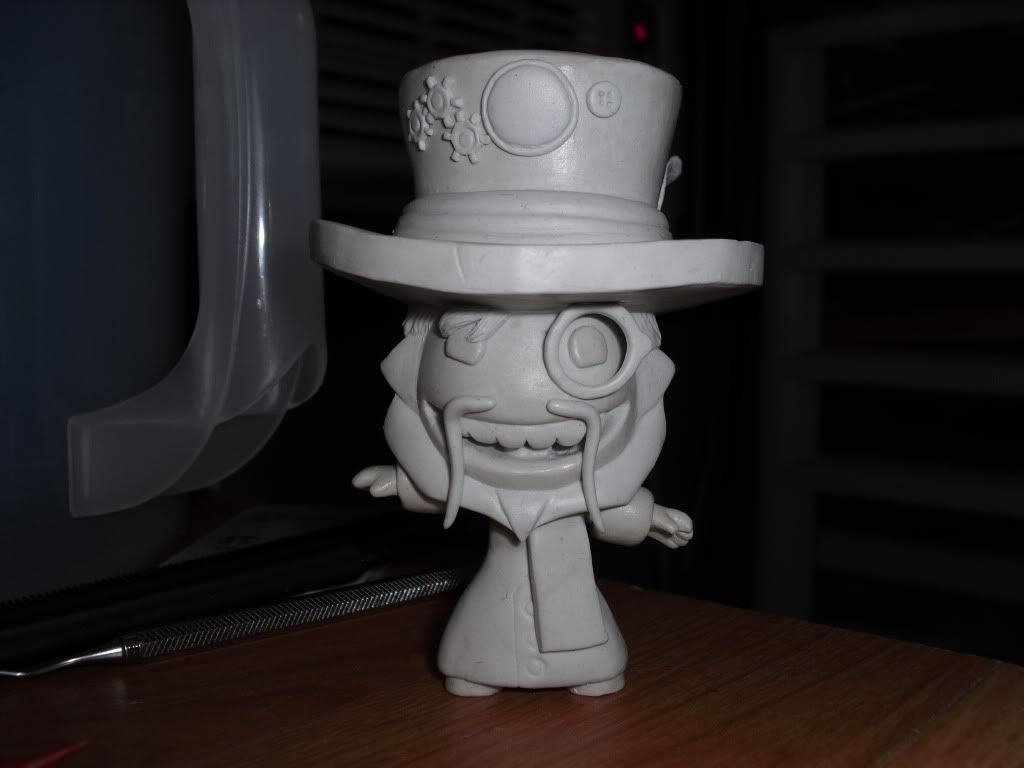
Skipped a few steps between pictures here, in case you didn't notice. Added the bulk of the coat, the scarf, the teeth, all the hair, the monocle, the decorations, and a partridge in a pear tree. This last bit is tough to see, but trust me, it's there. Honest.
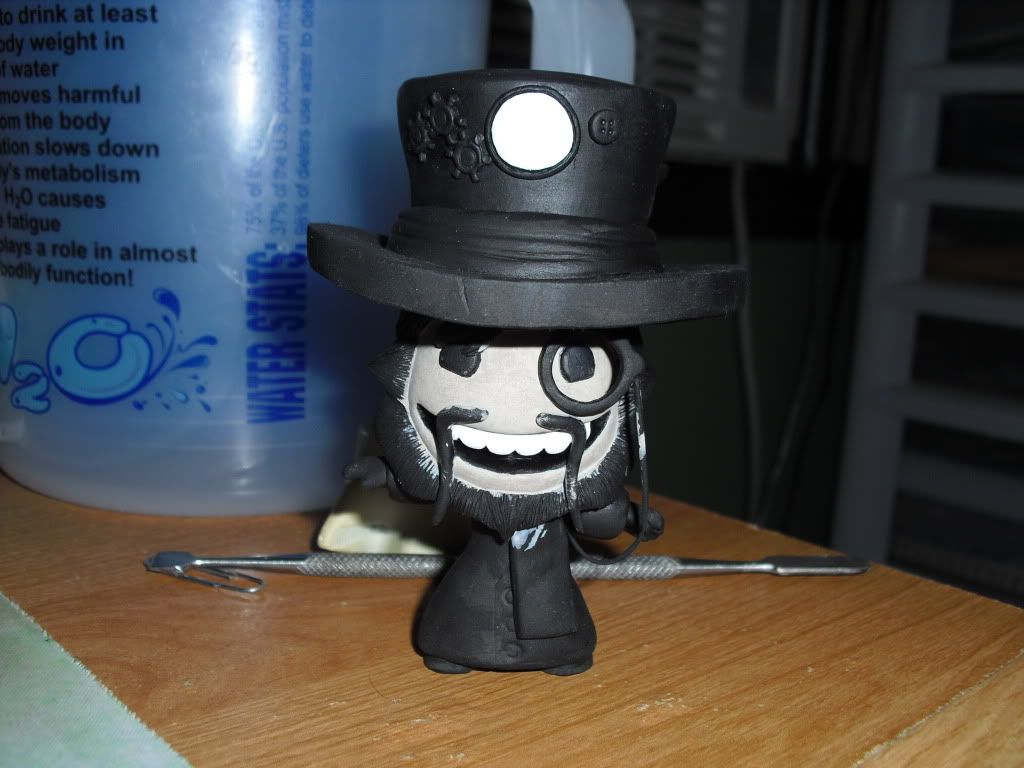
Added the base coat of black spray paint, added white for the teeth and clock face, and painted his face. At this point you can also see the chain I added to the monocle as detail, but it kept falling off so I removed it. Once I find a suitable one, I plan to add a little REAL chain and stick it on there.
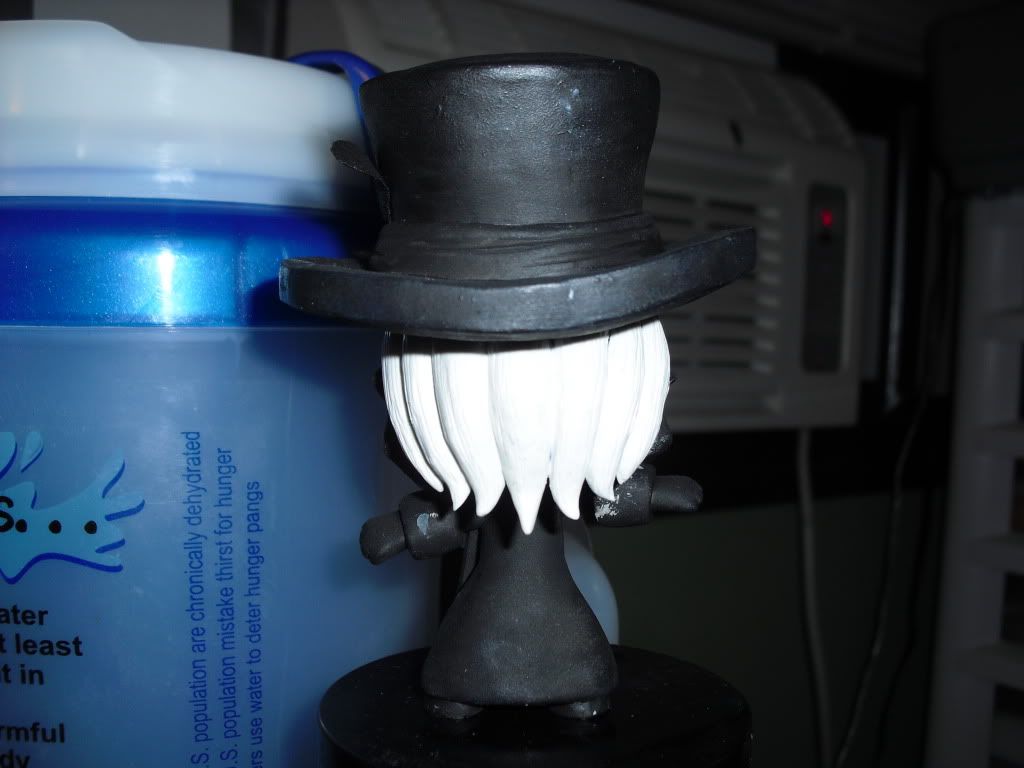
Did you know that you can rotate your Sack Thing by hovering the Sticker Tool over it until the camera zooms in and pressing R1 and L1? I didn't. After learning that trick I realized just how wrong I had sculpted the hair (Madison Hair from the Heavy Rain pack) so I re-sculpted it.
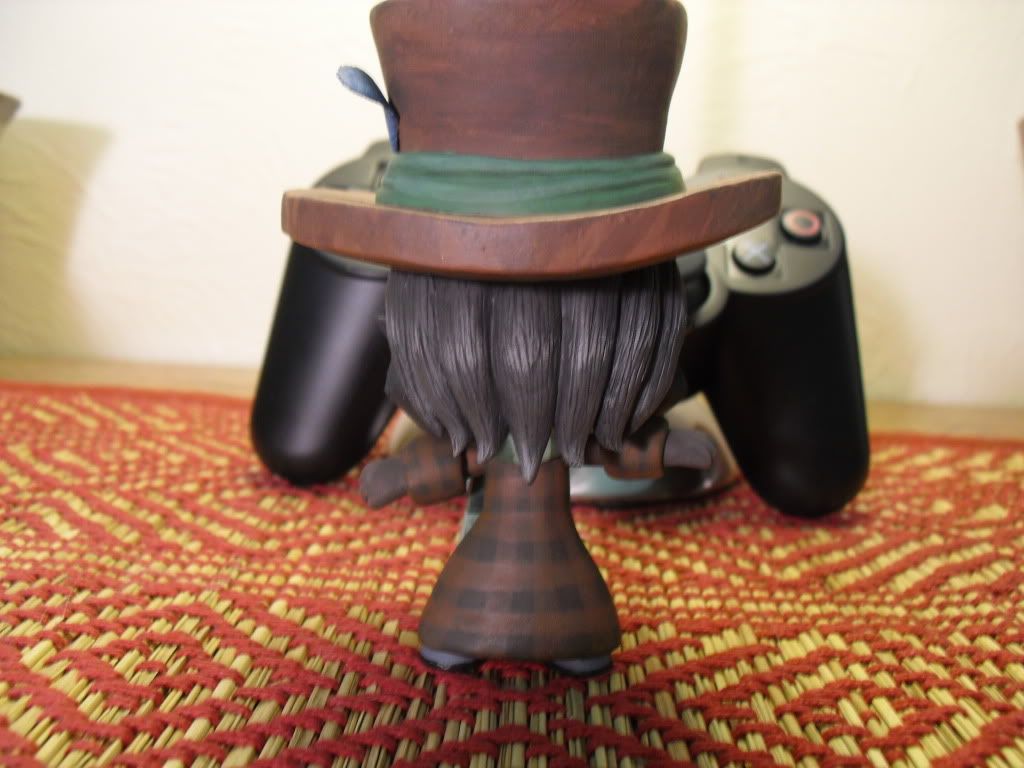
After that I finished the paint job. I started with the hair, using a dark desaturated brown as a base and adding white for the highlights. I then did the coat, using very thin paint in several layers to get the pattern to look right.
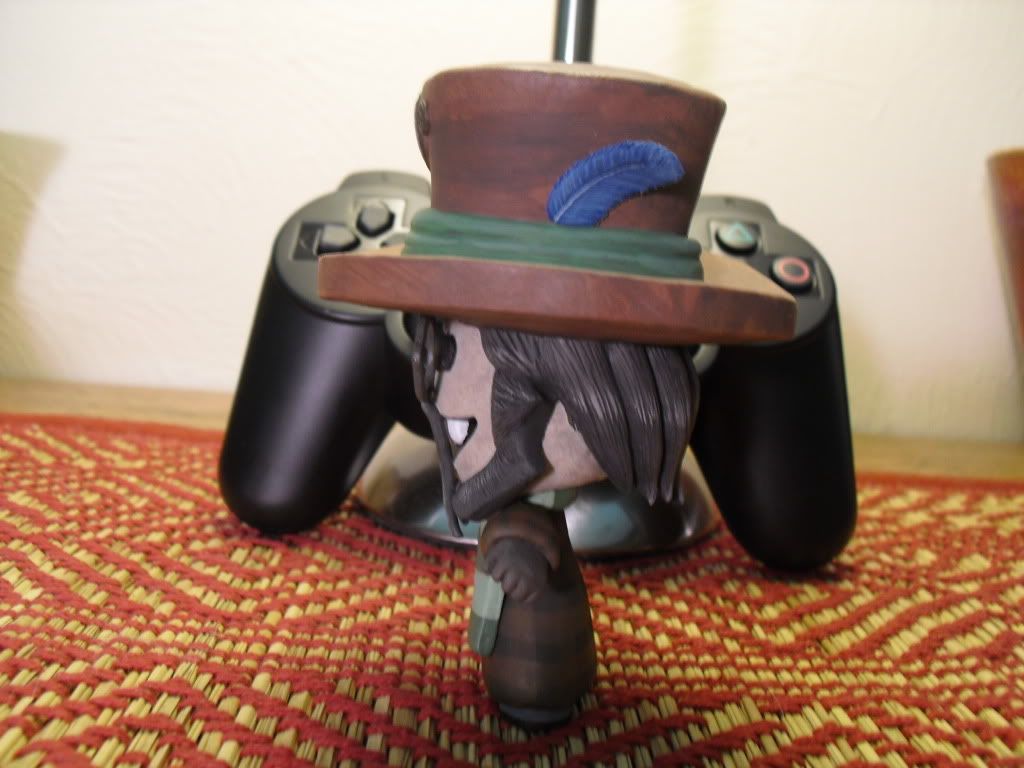
Next I did the pants, hat, and scarf, again using many layers of thin paint. The feather I did last of all, but it's only really visible in this pic =_=;
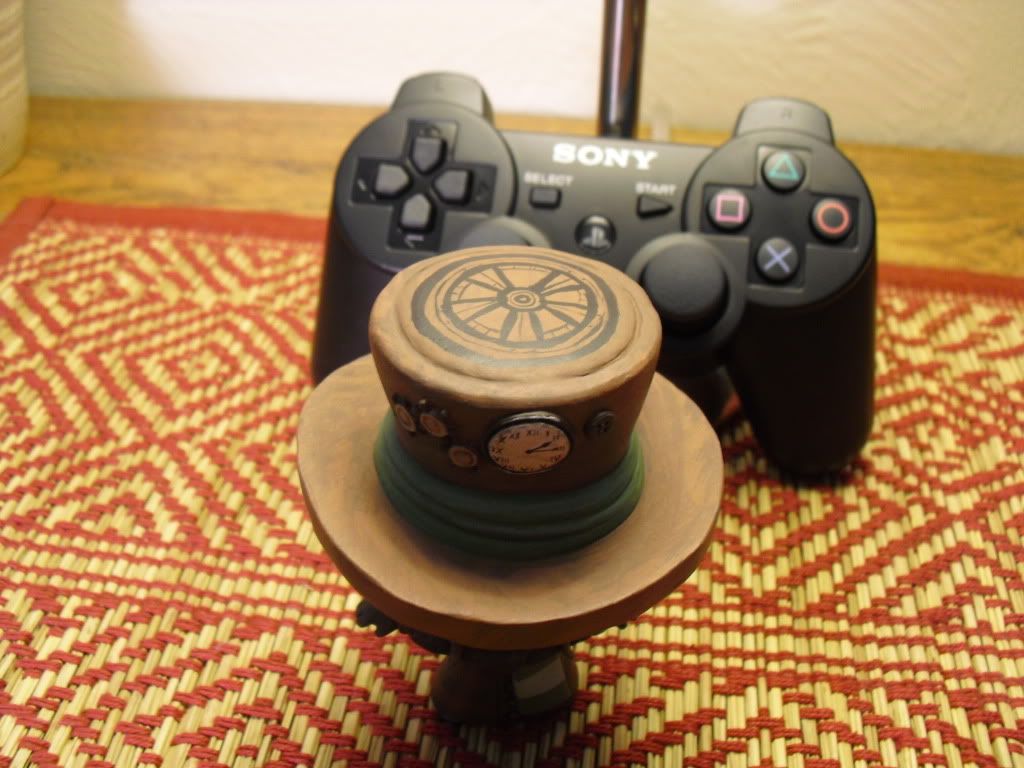
Right after I did the hat, I added the sticker on top, which is the "Wheel Sketch" sticker and the only sticker on this guy.
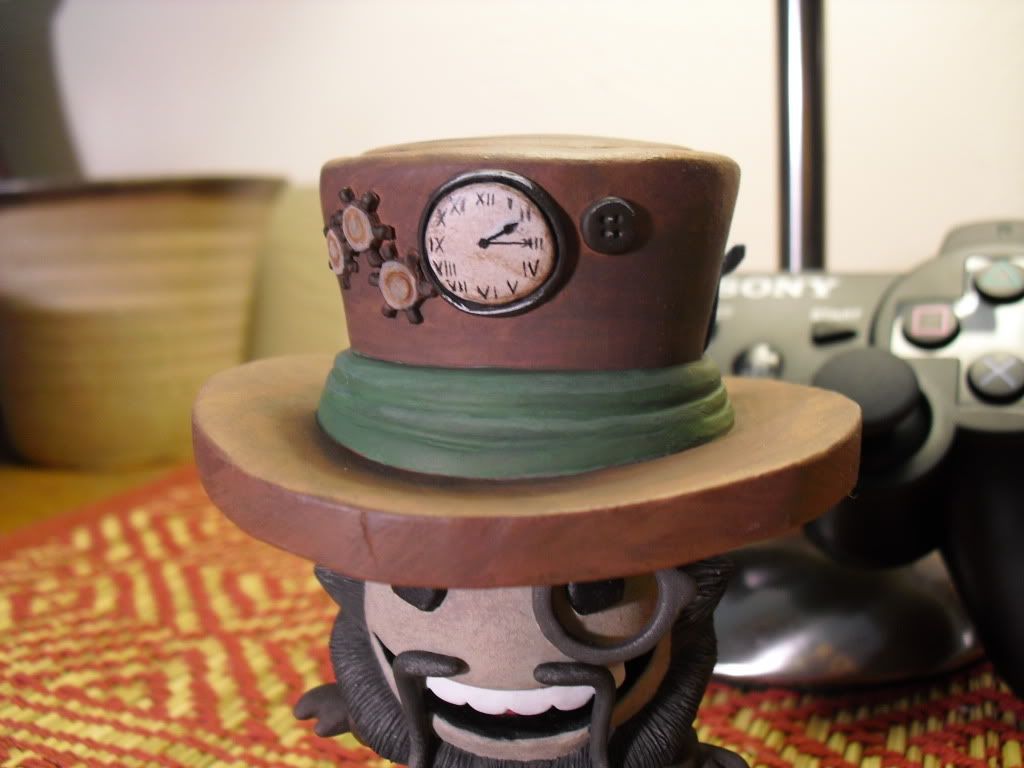
Afterwards came the rest of the decorations. Tiny roman numerals are tricky, but all you need is a good brush, some thin paint, and a very steady hand.
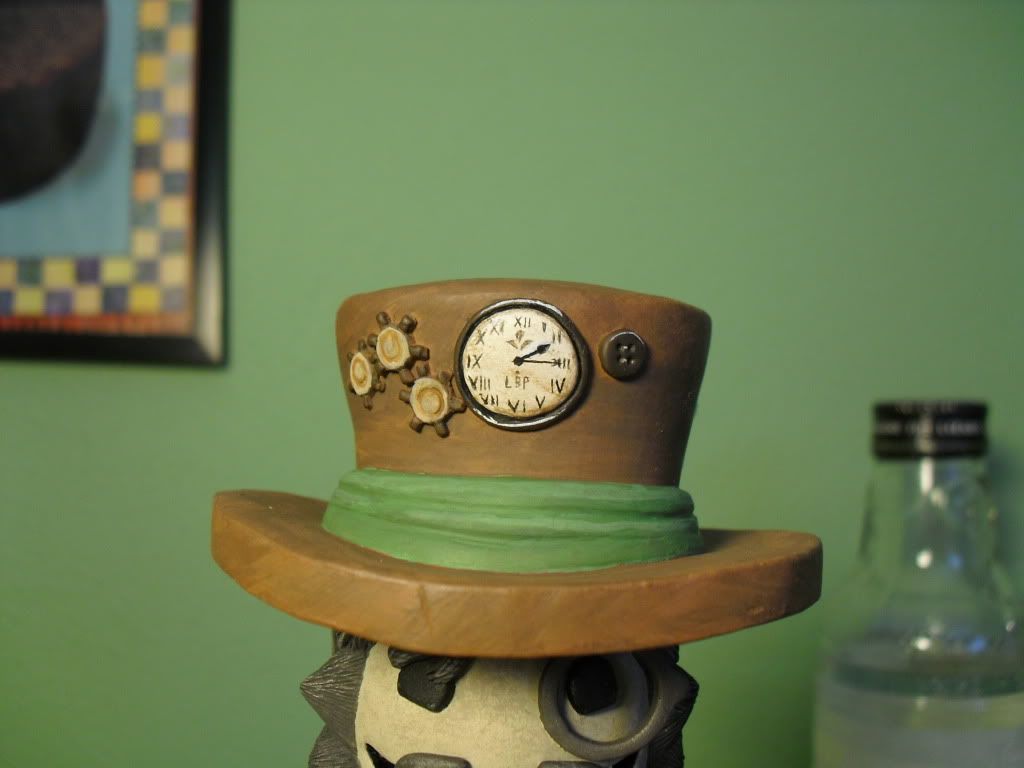
And of course, because I knew I would, I left out a couple tiny details before I did my nice pretty photoshoot. Here's what I missed before: The "LBP" and little crest on the clock.
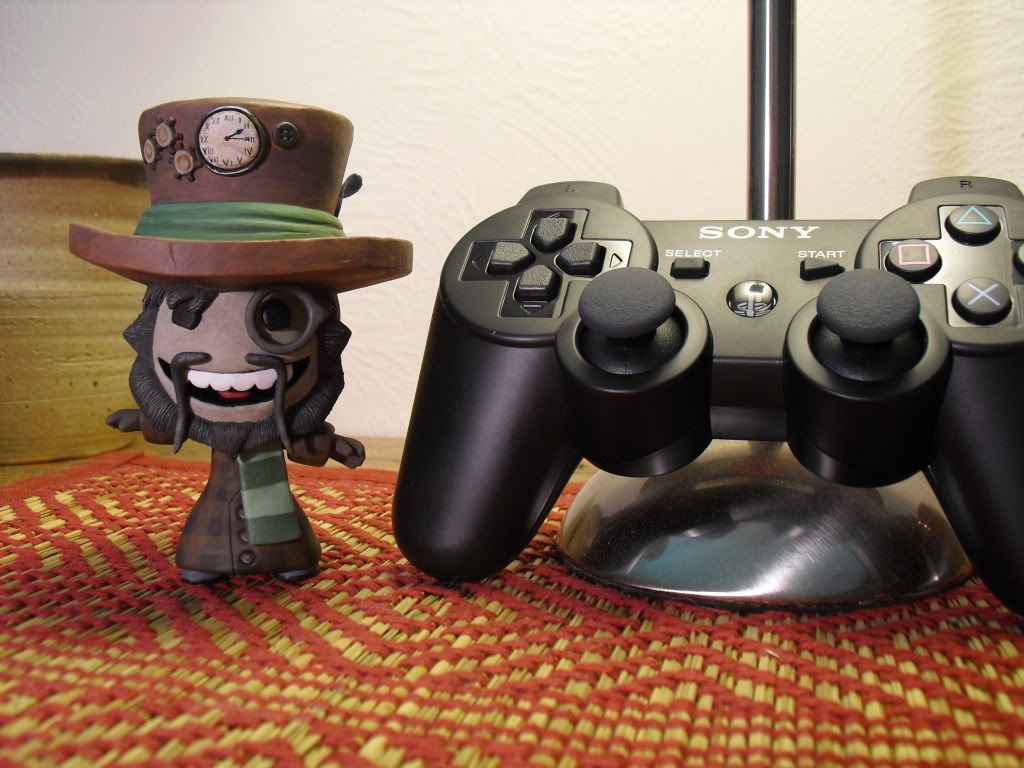
And that's that! If you have any questions about this little dude, feel free to ask!
Oh, and Reginald will now be a regular on the video podcast I co-host: PodCast, which is, of course LBP related!
MATERIALS USED
Lots of people have been asking what I used to make this guy, so I thought I'd just list it off here!
Wire Skeleton: Fibre Craft Painted Wire I got from the hobby section of Wal*Mart
Body, details, and most everything else: Aves Apoxie Sculpt I got from Amazon
Hat Crown Filler: DAP Fast 'N Final Lightweight Spackling I got at Meijer
Paint: Various colors of FolkArt and Apple Barrel acrylics I got from Wal*Mart and Hobby Lobby. The black spray paint was the cheapest can of matte black I could find.
Brushes: A few cheap brushes for the bulk of the work, but for the fine details I used a Winsor & Newton Series 7 size 0 Miniature painting brush. This is the best paintbrush I have ever used. I bought it from Dick Blick's website
How much is something like this going to set me back? I might have to commission a sculpt of Vyse from Skies of Arcadia, considering that such a thing doesn't exist. That and SoA is still my favorite game of all time.
ReplyDeleteLooks great. I didn't think that human hands could have possibly painted that clock on his hat, but there it is...
Google'd him.
ReplyDeleteAAAAAHHHHHHH COMPLEXITY!!!!
I could probably pull it off, but don't expect it to be cheap! =P
Fantastic!
ReplyDeleteI wish I could commission someone to make my Sackboy for me. I'd do it myself but I want it to look at least slightly recognisable lol
Very awesome!!! Wish I had even a smidgen of your talent!! :D I'm still relatively new to LBP, but love Sackboy and all his costumes!! Which costume is yours wearing in this sculpture, if you don't mind me asking? I don't remember seeing it, so just curious. :)
ReplyDeleteMay I ask what material did you sculpt with? I would love to give this a go with my SackGirl :P lol. Thanks
ReplyDeleteWow! Awesome work. Makes me want to try doing it but I wouldn't even know where to begin. Been years since I've sculpted and I've always sucked at painting.
ReplyDelete@Christa
ReplyDeleteI used a combination of a few costumes, mostly from LBP2. The hat, scarf, and coat are from the Andreas set found in Avalonia. The pants and hair are from the Heavy Rain set, the skin is from the Team ICO set, the beard is the Genghis Kahn beard, and the monocle is.... the monocle!
@Carol
I added a materials list to the post!
All I can say is that if you ever set up a Sackperson model commissions website... You'll make a lot of money. :P
ReplyDeleteAnd I will be your first customer with about a dozen orders ¦D
If Mm said it was okay, I'd seriously consider it!
ReplyDeleteI am now super excited! Yesssss. Good luck!
ReplyDeleteI wanna create my own sackgirl now!
ReplyDeleteBut I'm afraid it won't even look lika a sack(any)thing.. :(