Wednesday, April 29, 2009

Self Portrait: Hot off the Press

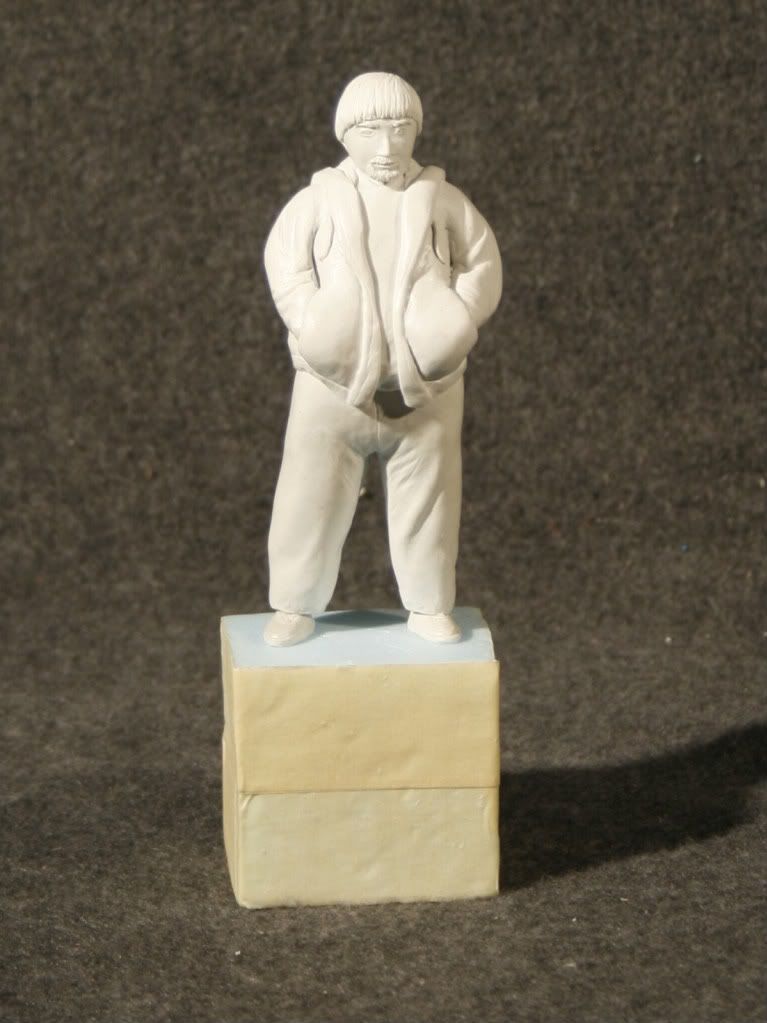
Here is a piece of work that I "finished" some weeks ago. I believe it turned out well as I have been recognized by people who have seen this mini.

Originally I was gonna paint this guy, but it turns out that I didn't have time and my professors thought I should leave it unpainted. Over the summer I plan to make a mold of this and cast several replicas. I can then leave the original unpainted and do whatever I want with the duplicates.

More to come later, I'm sure.

Sunday, April 26, 2009

Figure Studies


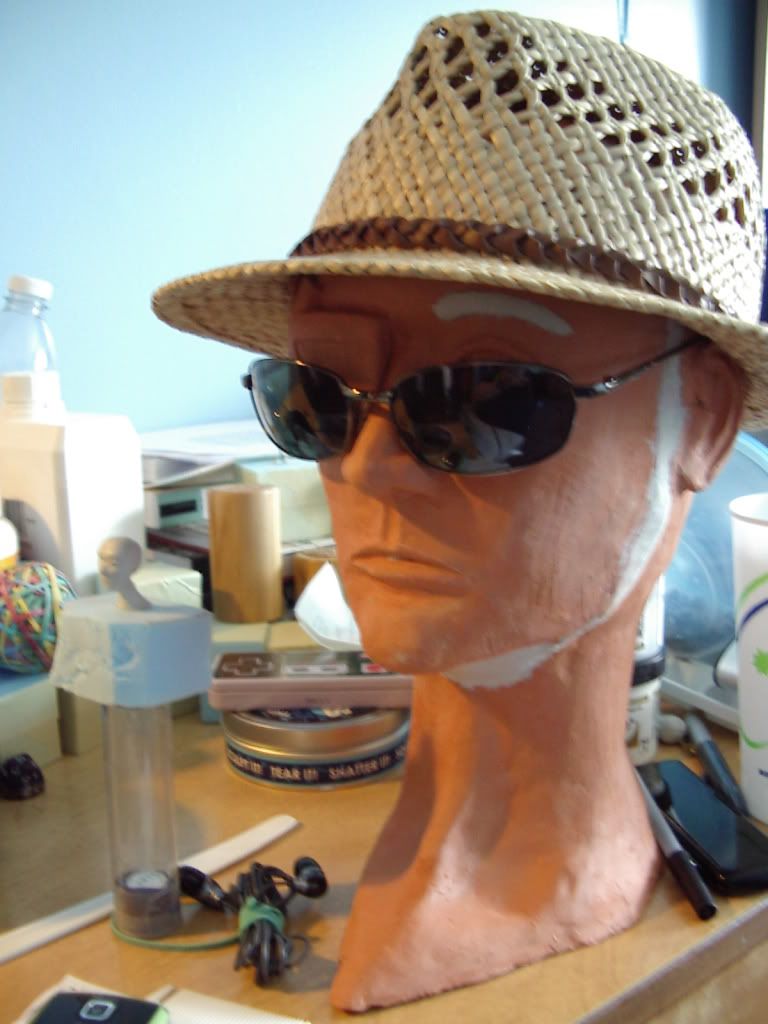
As part of my Figure Studies critique, I needed to finish up the ceramic bust I made in class. As you can see, it's 1:1 scale, as it can wear my hat and shades. Next to it you can see a mini bust I'm working on as well!this way you can kinda see the scale I'm working in.

it's mostly terra cotta, but the white bits are epoxy putty. The reason it looks like he has a beard is because his face kinda, well fell off. I used the putty to clean up the seam and also as my adhesive. I also added an eyebrow for good measure.

Starting next weekend I'll be working on my Senior Show, and thus I'll be setting up a little miniatures workshop at home. I hope to have a mess of armatures within a few days of getting home.

Monday, April 6, 2009

Papercrafts for Show


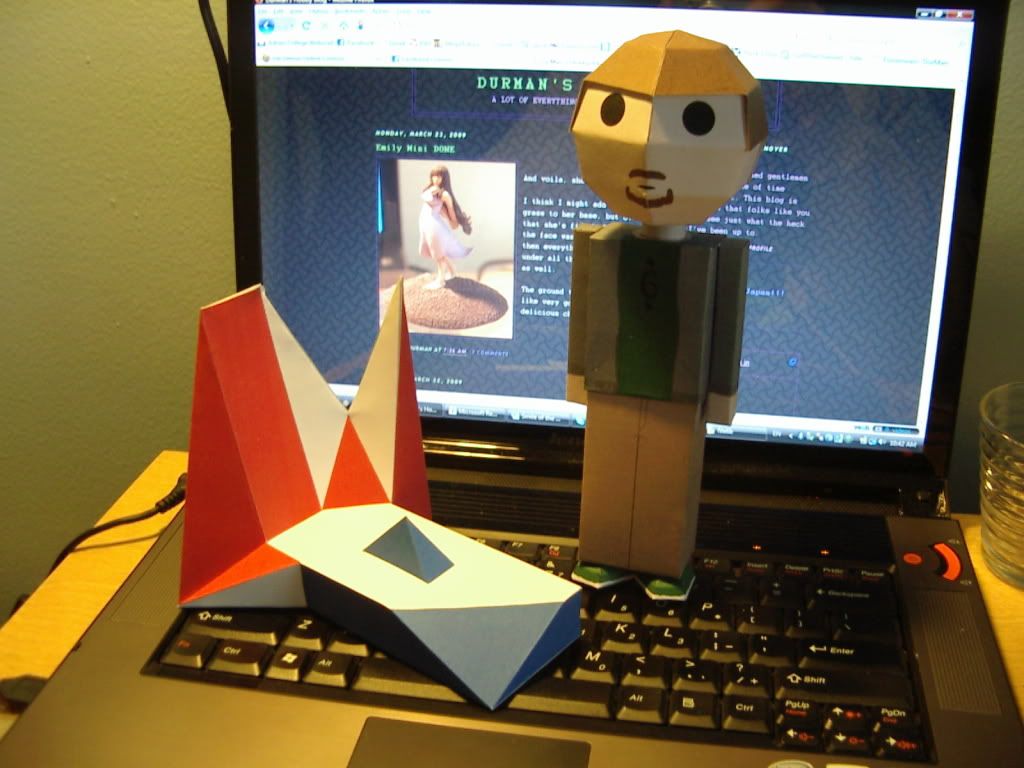
One thing that I have been somewhat interested in for a while now are papercrafts, which are paper model kits which you print off and assemble.

Here you can see two that I have made completely from scratch. In the past I have extracted models and textures form WoW and run them through various programs to get them in this form, but in this case I built them in SketchUp and textured them either within that program or in Photoshop. They are by no means the most complicated or advanced papercrafts out there, but they are, as stated, actually origional!

Stay tuned, I have one or two other projects in the "Almost ready for Primetime" stage.

Monday, March 23, 2009

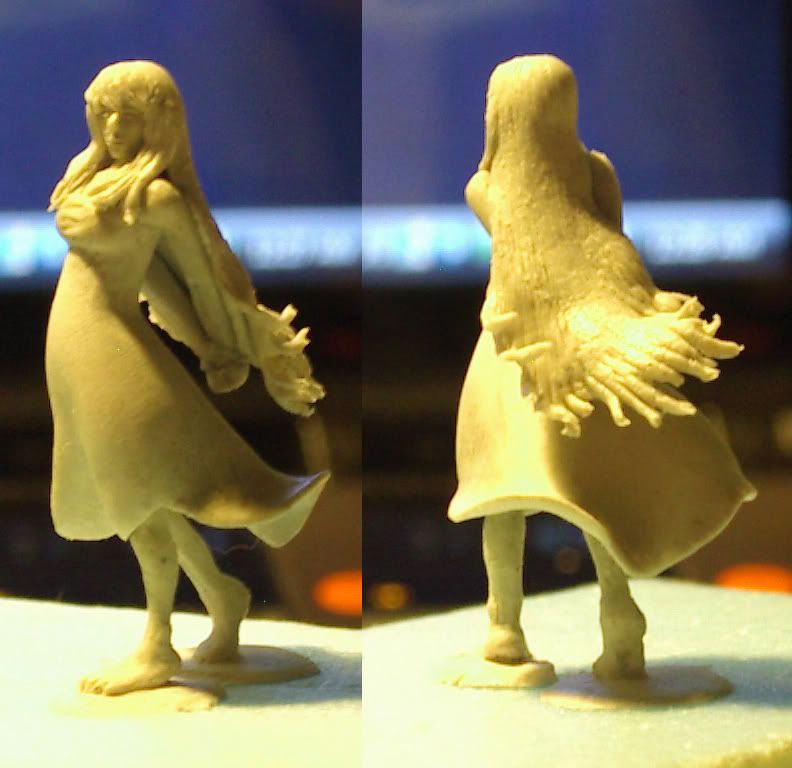
Emily Mini DONE


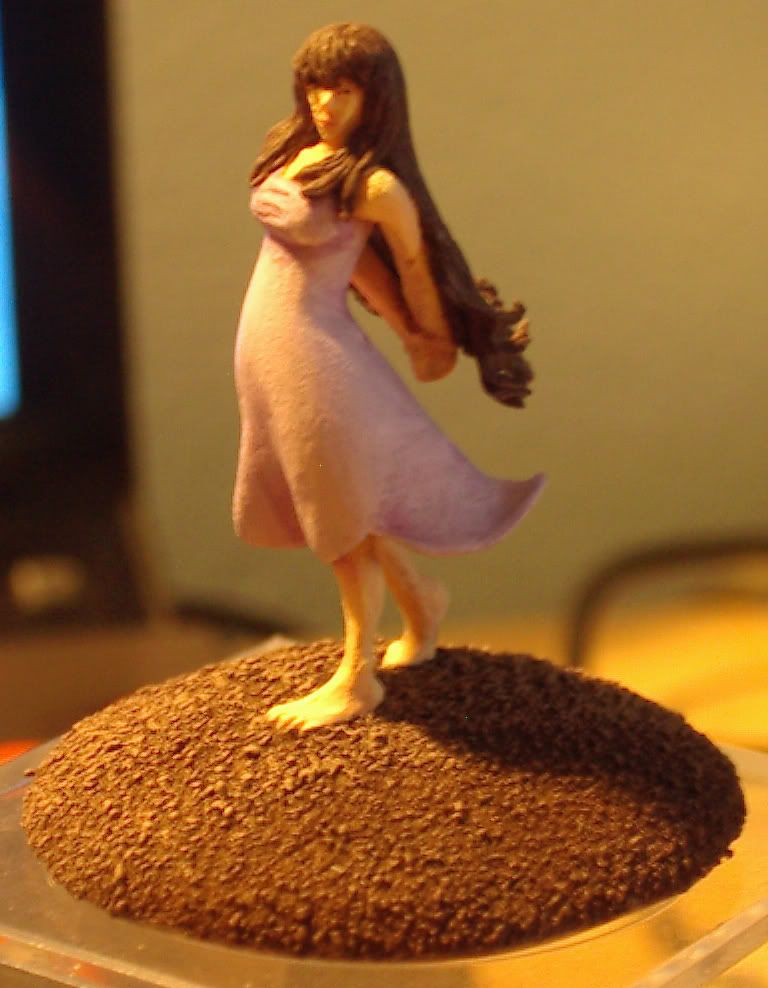
And voila, she is done!

I think I might add some static grass to her base, but other than that she's finished. as expected, the face was the hardest part, but then everything behind her back and under all that hair was a real trick as well.

The ground turned out well. It looks like very good earth... Or maybe delicious chocolate....

Sunday, March 22, 2009

Emily Mini Pre-Paint


Emily is now fully sculpted and is now awaiting paint. The blue block she's standing on is the foam her armature was stuck into to give me a better hold on her while in progress.

Now she has a very splendid and worth-while hill to stand on complete with sand. When the whole thing is painted up and whatnot, you can expect another picture.

On to bigger (but not necessarily better) sculpting projects. Details forthcoming.

Tuesday, March 17, 2009

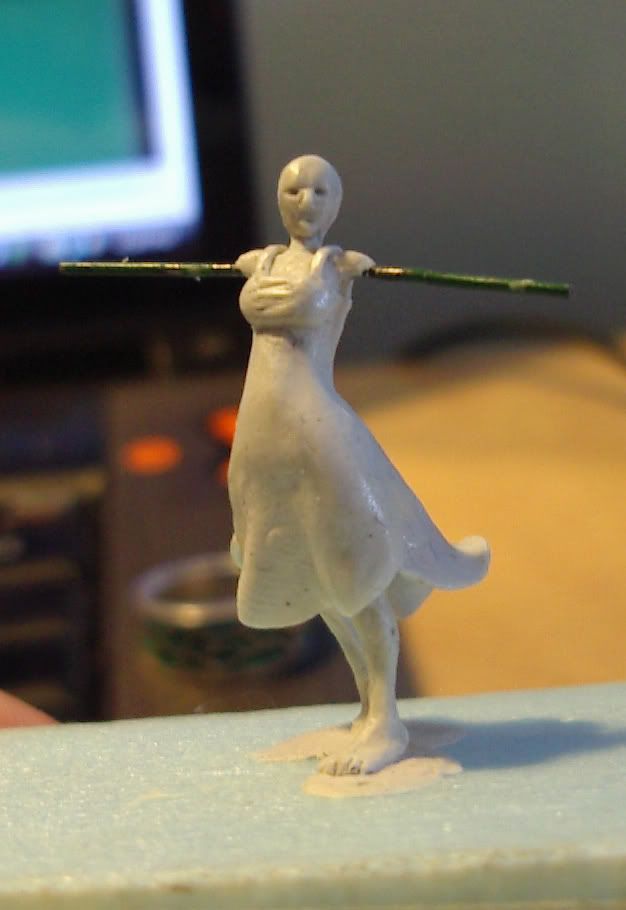
Emily Mini WIP

I'm currently working on a couple more mini projects. Pictured is my Emily mini as she stands now. I still need to file down her dress a bit, as there are lumps and seams here and there that need to go. Also, some places are a bit thick, making her look thicker than she should be. After I decide the dress is done, I'll finish up her facial features and give her arms, which are currently not even in their final placement. I'll finish her off with hair and paint, and I'll have my most detailed mini to date done!

Sitting beside her over there is an armature of me in a significantly larger scale. I'm kinda putting that off till I'm done with this one though.

Pretty soon I'll be making miniature heads as a part of my figure studies class. I'll get plenty of practice then!

More on this later.

Friday, March 6, 2009

Evil Fred [Step-By-Step]

Just as I promised, here is the slide show of my Evil Fred mini's construction. I sculpted him over the matter of about a week, but certain details were done MUCH later than the original. Let's get started!

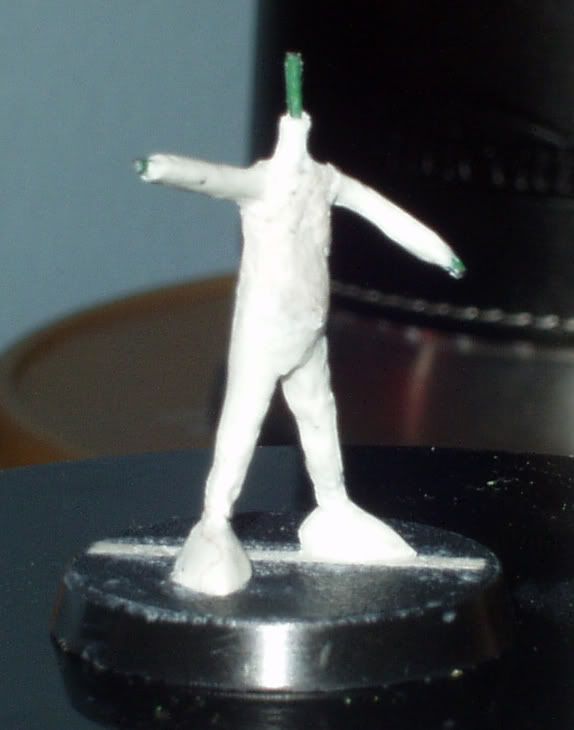
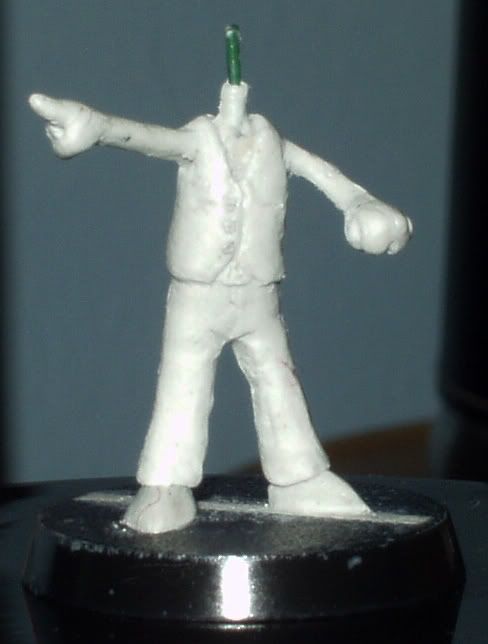
Now it all began with a wire armature which I made from Florist's wire. I attached this to a spare 20mm plastic base I had leftover from my various Games Workshop minis. This base, like many others, was slotted, so I filled in the slot with some spare epoxy putty. speaking of which, the entire mini is made from Apoxie Sculpt, a brand of epoxy putty. Not only does it work very well, but it smells DELICIOUS. As you can see, I gave him a basic body structure and shoes on Day 1.


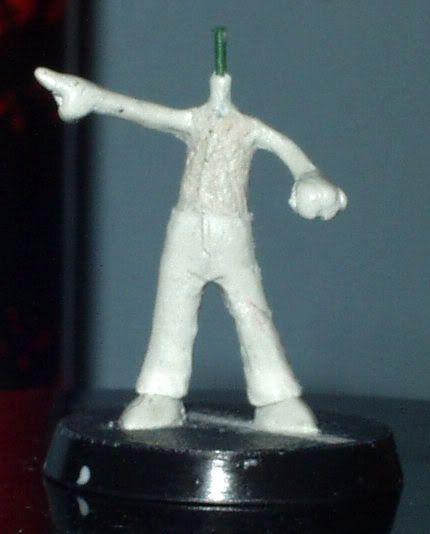
Next up, Fred got hands and pants, which to me a least are both VERY important. This is where the detail started coming in. You can see the seams in his pants! That was really quite a trick to do, as it required a lot of precise exact-o knife work. I did what I could to get folds and wrinkles in there to make it look realistic. End Day 2.


A stylish vest was next up on the list. It is complete with pockets, buttons, and a belt buckle. On this step, the buckle was by far the trickiest part. Not only is it tiny, but it's at right angles! Also, you can see that I didn't sculpt the pinstripes. Those were added later.


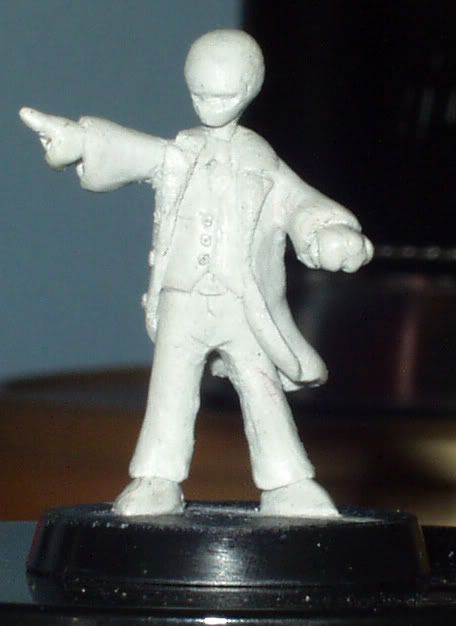
Day 4 was a productive one. Fred got a tie, a head, AND his trademark lab coat. The tail of his coat I sculpted to make it seem to be blowing in the wind. That was a little on the difficult side, but not so bad. Oh, his coat also has buttons. I left a crescent for his mouth so I could add his teeth the next day.


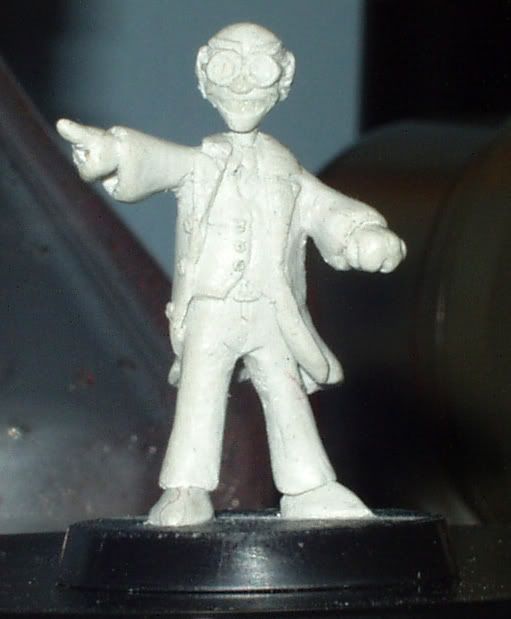
Next we have the most difficult part: Facial Features! Teeth, ears, nose, glasses, and eyebrows were all added. I went through one or two techniques before I figured out how to make his glasses look good. You'd be amazed at how many fiddly bits there are on a human face! There wasn't a single part of this step that WASN'T a trick to do! The ears were a real pain due to a cruel mistress called "symmetry," and the nose was just plain small! I digress...


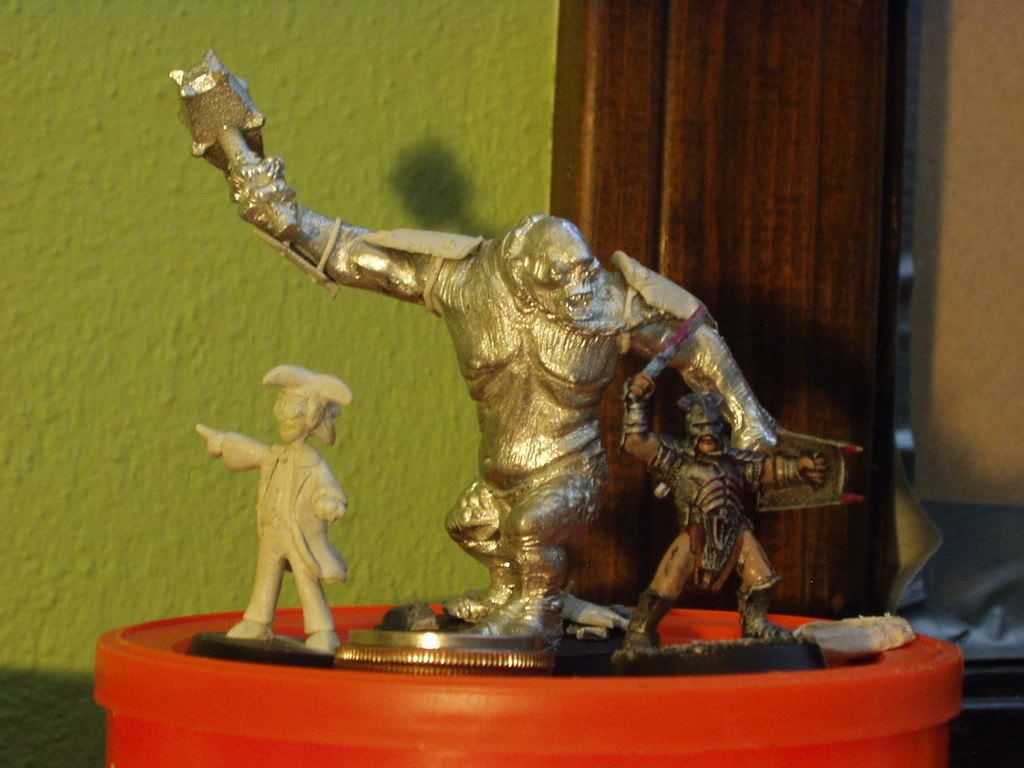
This step was actually quite a while after the previous steps. I had sculpted Evil Fred's hair, but I didn't like the way it turned out. Months later (pictured) I fixed and finished it off. You can also see my Cave Troll before it was painted. The whitish bits are the ones I added.


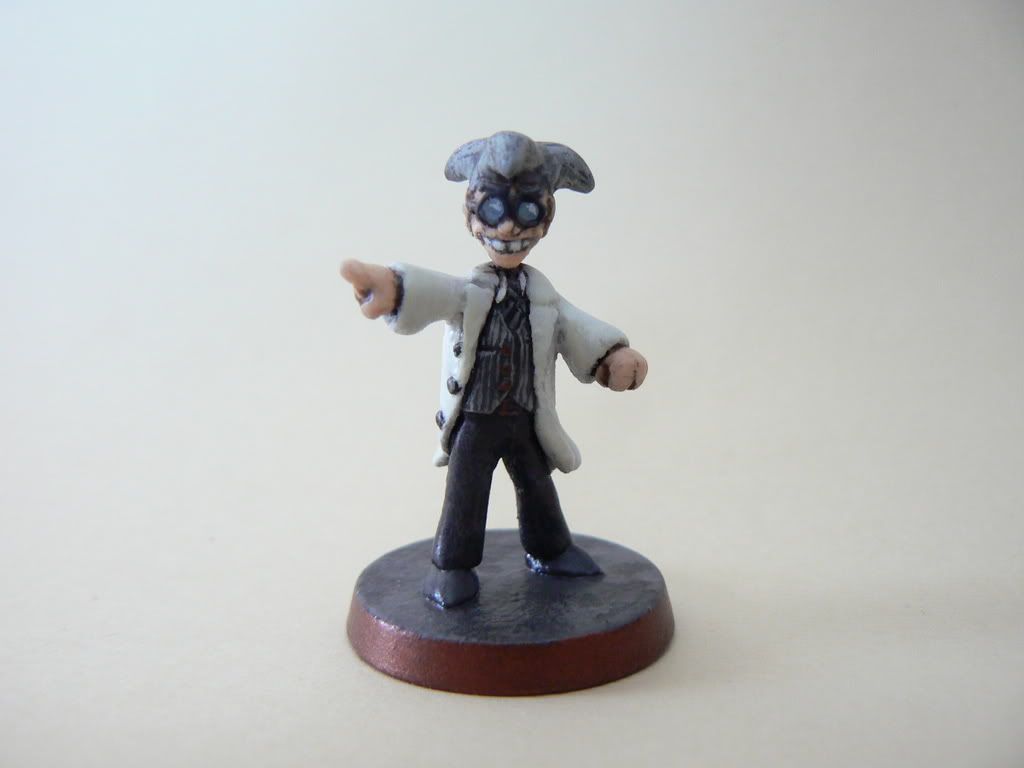
Here is the finished product. By the by, I use Wal-Mart bought acrylic hobby paint. Many say that miniatures paints sold by Games Workshop and a few other companies are the best, but there isn't a true difference. These paints work great and they are a fraction of the cost.

I hoped you enjoyed this little guide. if you have any questions, I'll do what I can to answer!