Tuesday, March 13, 2012

Hmm, maybe I wasn't pretending...

Well look at that. Has it only been a week? I believe it has!

The basil is doing fantastically, the lettuce is clearly taking control of the place, and the parsley has sprouted!

Oh, and speaking of the lettuce, I did a very light harvest in order to remove a few leaves I inadvertently damaged or were getting a touch too big for their own good. They tasted, well, like lettuce!

Changing the water was my main project for today. Though the ppm seems to be higher than I had intended, the plants don't seem to be burned. After about 10 hours, one of the Red Rubin plants seems to have perked up.

More later. Likely when the basil branches or I make a salad.

Thursday, March 1, 2012

Pretending to have a Green Thumb

I decided, after getting an unrequested invitation to join a national gardening club which, from what I've read, is a pretty crummy organization, to make myself a little herb garden. To make it better and cleaner I decided to make it a hydroponic garden, since I love it when people think I'm a druggie.

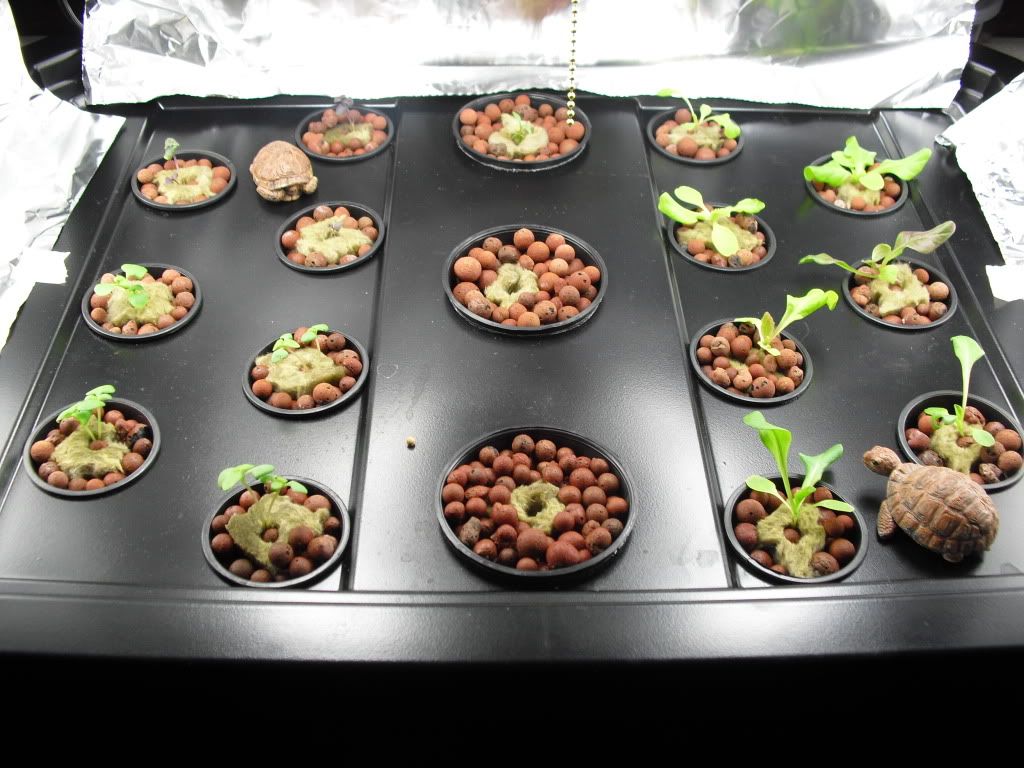
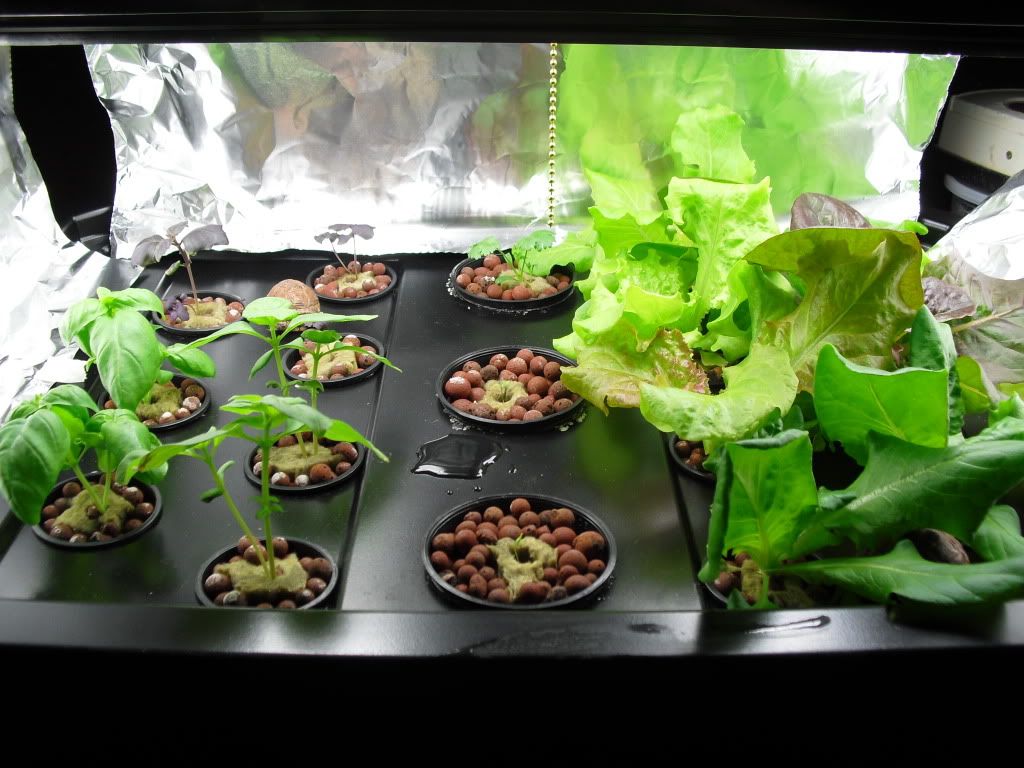
Here the thing is in all its glory. Everything here has about 2 week's growth, so this thing is just starting to swing into high gear.

On the left I have three types of Basil: Lemon, Red Rubin, and Genovese. On the right I have a variety of leaf lettuce which I couldn't identify if I wanted to. I bought a seed mix with the intention of being surprised. Finally in the center I have one Cilantro plant and nothing else. The two empty spots are going to be Italian Parsley, but I had to order the seeds and they should be arriving soon.

I'll update on this project every so often. Expect the next one when the parsley starts to sprout.

Thursday, January 5, 2012

Let it Gnome...

Photobucket

Just a little something I made for my mother as a Christmas present.

Saturday, August 6, 2011

Swingin' a chain, swingin' a chain...


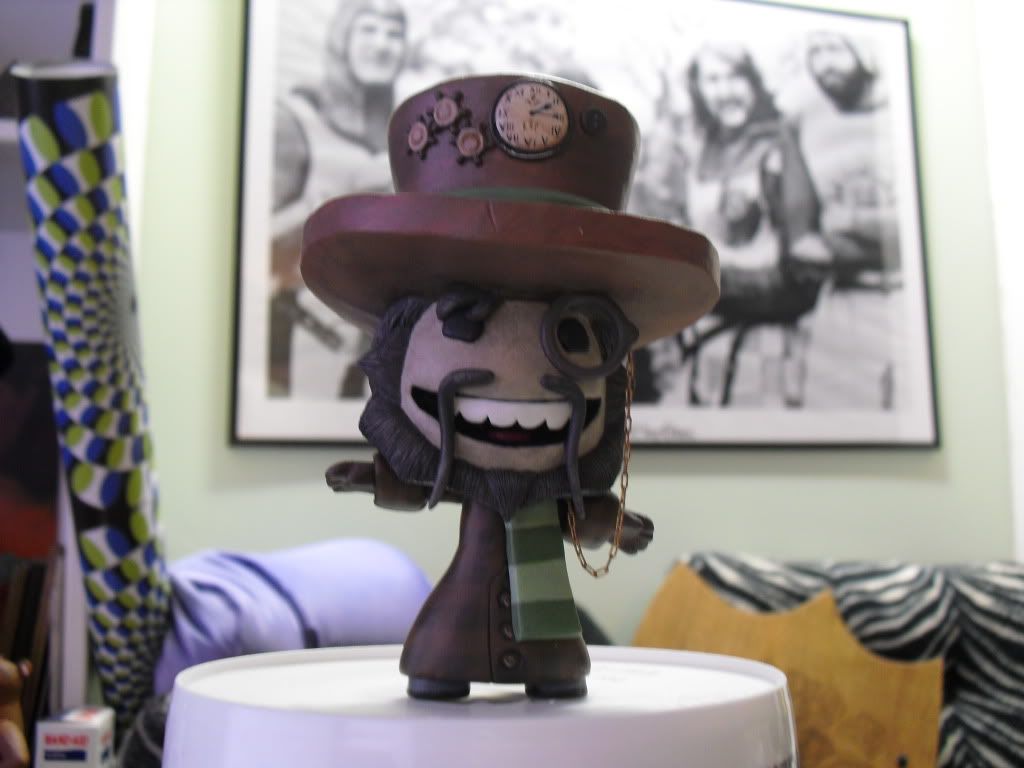
Hey look! His monocle has a chain! Whee!

Thursday, July 7, 2011

Good things come to those who... procrastinate...

Since I've been terribly slow working on the little guy, and since I don't see my ambition to finish him raising in the near future, here is the next Sack Boy I'm working on.


As you can see, this one is a touch smaller.

I'm likely going to put this little guy on hold for a short while, as I want to make a sculpture of the character from Journey, which should present me with some interesting challenges.

Also I have a more artistic piece in mind that I need to get cracking on. I have until mid August to finish it.

Friday, June 24, 2011

The Power of Sack Boy

Photobucket

Funny, isn't it, what one little Sack Boy can do?

Photobucket

Wednesday, June 22, 2011

Reginald P. Sackerton

Here's a quick step-by-step of the creation of my sackboy sculpture.

Photobucket

Here's my SackBoy, Reginald P. Sackerton. I love this pose, so I used it for my sculpt.

Photobucket

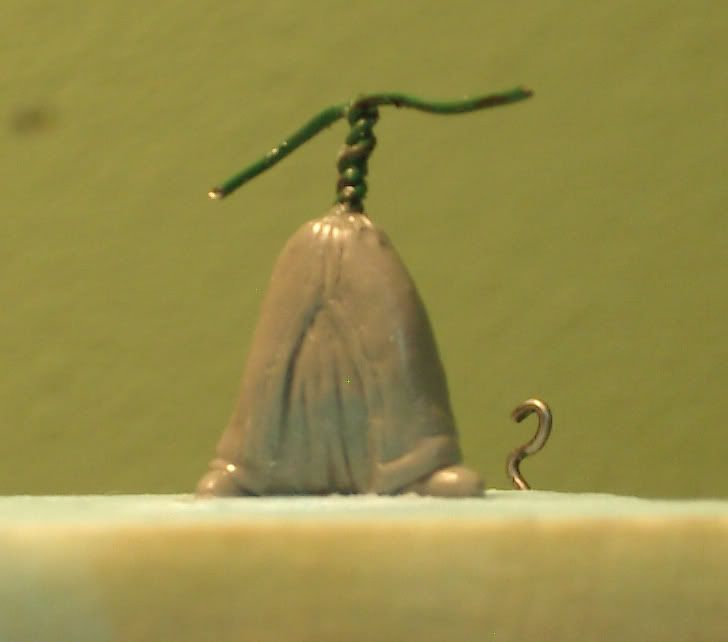
I started with a simple wire skeleton to build on, starting with the feet, legs, spine, and head.

Photobucket

I then added a wire for the arms. I worked with a PS3 controller to make sure my scale was accurate. Turns out that SackBoy is officially 8cm tall, and that's what I ended up with by just going by eye.

Photobucket

Added some meat to his bones. Legs are in place as well as most of the torso. I also filled in the ring of wire for his head with a disk of material to build on.

Photobucket

Here everything for the base SackBoy is in place, fingers and all. Yes, I went so far as to add all 5 of his little fingers on each hand. I also added the tongue and the sleeves for the coat.

Photobucket

Adding the hat. I made a frame of wire for the crown and stuck it to his head and bulked it in with Spackle. I then added wires as guidelines for the shape of the brim.

Photobucket

Covered the Spackle with clay and added a ring of wire around the brim as a guide.

Photobucket

Skipped a few steps between pictures here, in case you didn't notice. Added the bulk of the coat, the scarf, the teeth, all the hair, the monocle, the decorations, and a partridge in a pear tree. This last bit is tough to see, but trust me, it's there. Honest.

Photobucket

Added the base coat of black spray paint, added white for the teeth and clock face, and painted his face. At this point you can also see the chain I added to the monocle as detail, but it kept falling off so I removed it. Once I find a suitable one, I plan to add a little REAL chain and stick it on there.

Photobucket

Did you know that you can rotate your Sack Thing by hovering the Sticker Tool over it until the camera zooms in and pressing R1 and L1? I didn't. After learning that trick I realized just how wrong I had sculpted the hair (Madison Hair from the Heavy Rain pack) so I re-sculpted it.

Photobucket

After that I finished the paint job. I started with the hair, using a dark desaturated brown as a base and adding white for the highlights. I then did the coat, using very thin paint in several layers to get the pattern to look right.

Photobucket

Next I did the pants, hat, and scarf, again using many layers of thin paint. The feather I did last of all, but it's only really visible in this pic =_=;

Photobucket

Right after I did the hat, I added the sticker on top, which is the "Wheel Sketch" sticker and the only sticker on this guy.

Photobucket

Afterwards came the rest of the decorations. Tiny roman numerals are tricky, but all you need is a good brush, some thin paint, and a very steady hand.


And of course, because I knew I would, I left out a couple tiny details before I did my nice pretty photoshoot. Here's what I missed before: The "LBP" and little crest on the clock.

Photobucket

And that's that! If you have any questions about this little dude, feel free to ask!

Oh, and Reginald will now be a regular on the video podcast I co-host: PodCast, which is, of course LBP related!

MATERIALS USED

Lots of people have been asking what I used to make this guy, so I thought I'd just list it off here!

Wire Skeleton: Fibre Craft Painted Wire I got from the hobby section of Wal*Mart
Body, details, and most everything else: Aves Apoxie Sculpt I got from Amazon
Hat Crown Filler: DAP Fast 'N Final Lightweight Spackling I got at Meijer
Paint: Various colors of FolkArt and Apple Barrel acrylics I got from Wal*Mart and Hobby Lobby. The black spray paint was the cheapest can of matte black I could find.
Brushes: A few cheap brushes for the bulk of the work, but for the fine details I used a Winsor & Newton Series 7 size 0 Miniature painting brush. This is the best paintbrush I have ever used. I bought it from Dick Blick's website
Sunday, April 25, 2010

Archipelago


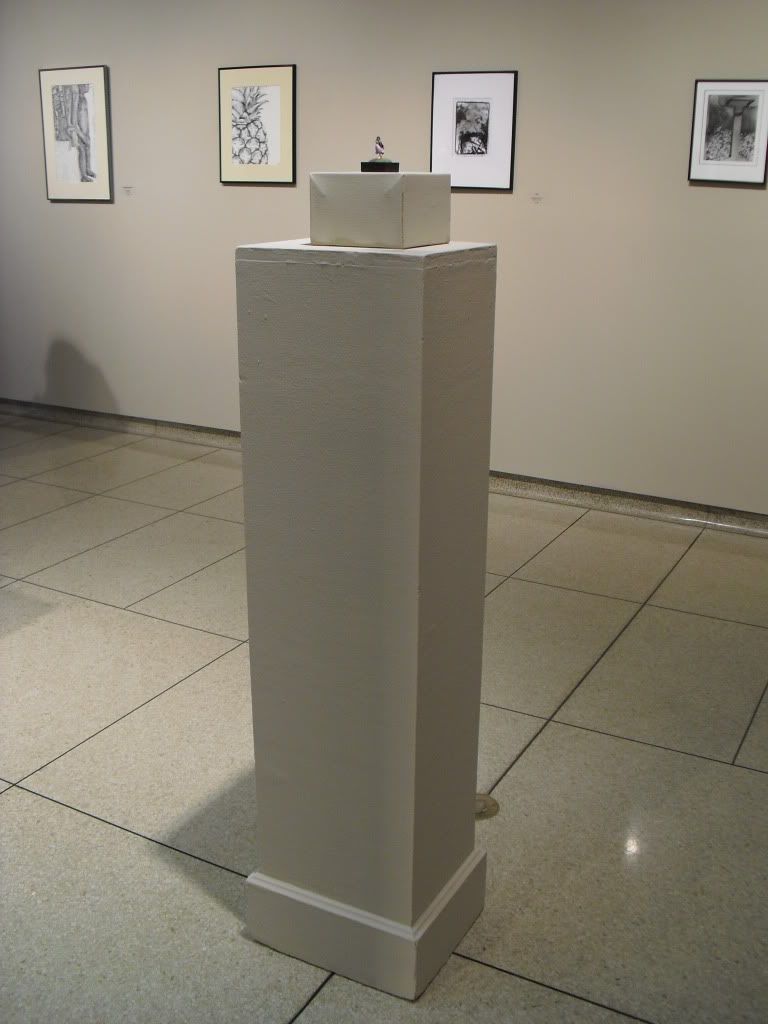
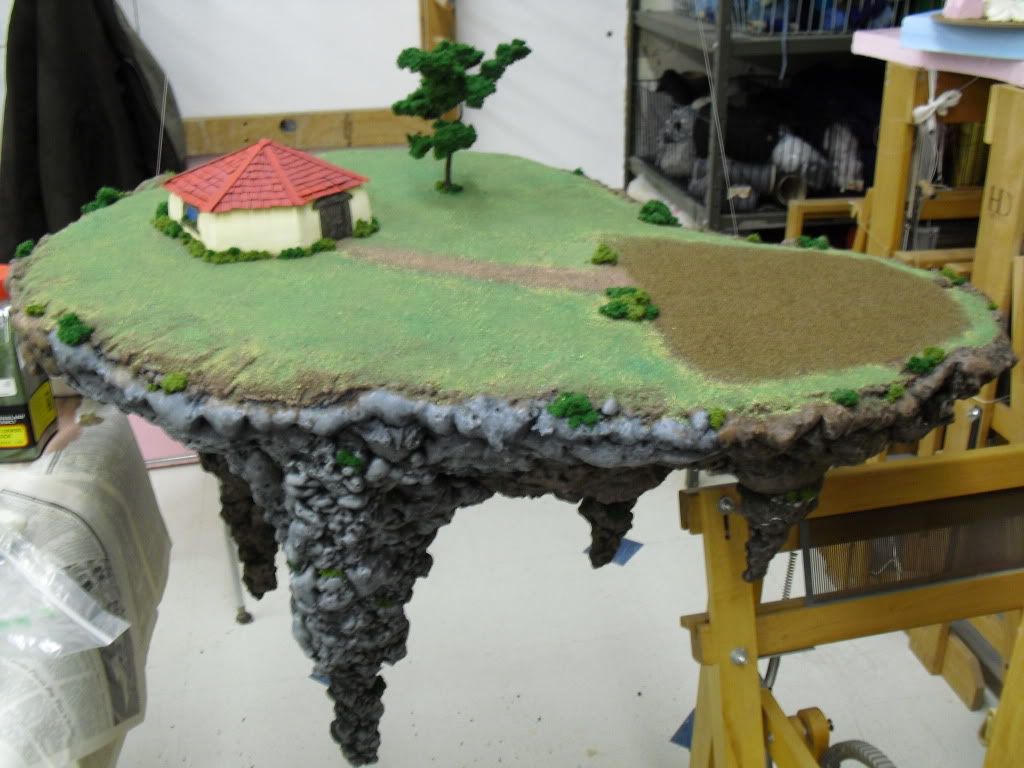
The Archipelago has been displayed and put to rest. I feel that school has kinda burned me out, so once summer vacation gets here, I may take a rest from the art stuff for a while.

Before that, of course, I have another piece to send up to the Gallery Project in Ann Arbor. I made good progress on it the other day, so I now only have a bit more modeling and painting to do before it's street ready.

Other than the art stuff, I have a couple plans for the summer. I plan to force myself into doing a diet and exercise routine, which will be too much as it is. And while dieting, why not make food? I'm also researching mushroom cultivation and hydroponics so I can start up a drug syndicate. Or maybe I'll just grow some oyster mushrooms and some tomatoes.

I'll keep you posted. Maybe.

Monday, March 1, 2010

Michigan Small Colleges Art Exhibit

Emily made it into a shiny big art show. She also earned me $50! Way to go, girl!


Tuesday, February 23, 2010

Monday, November 30, 2009

Archapelago Update


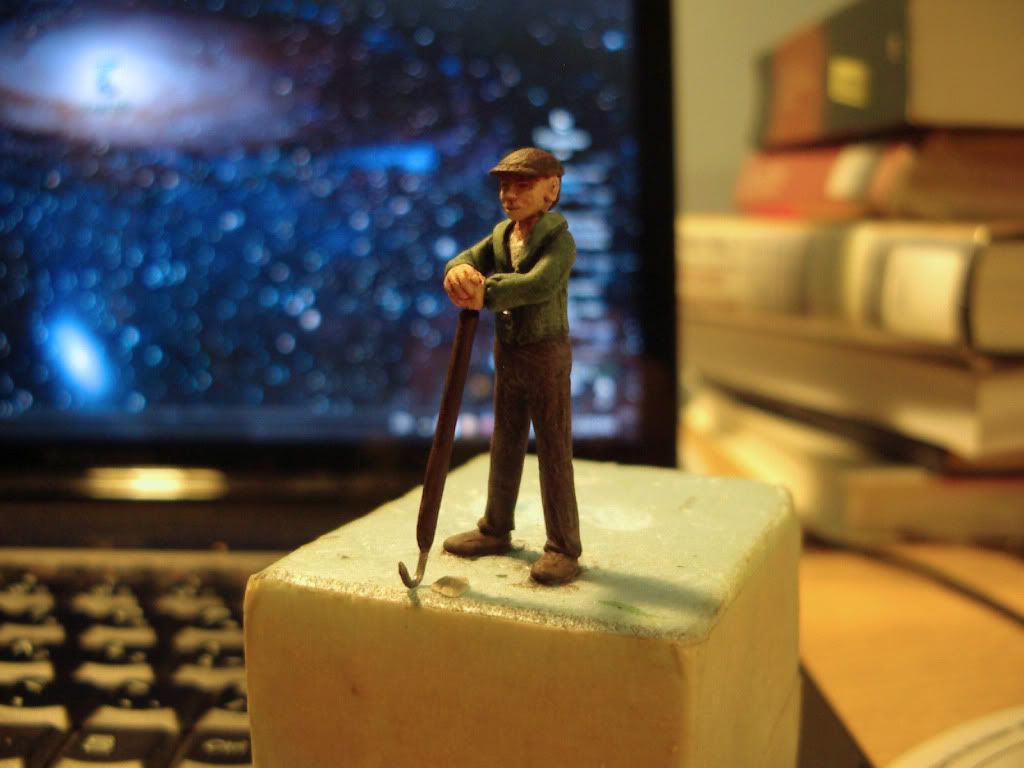
I finally finished painting the little dude who is going to hang out on top of my islands. He has a hoe.

That is all.

Wednesday, October 21, 2009

Major Update, reporting for duty!


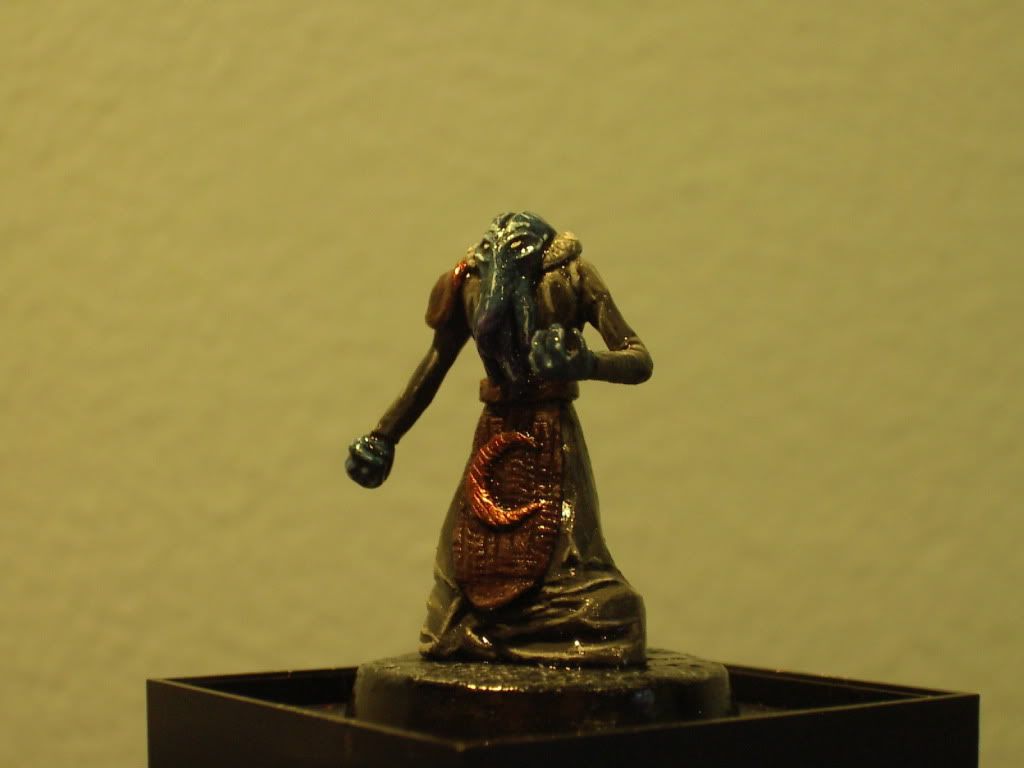
So a few months ago I finished this little guy, but never got around to talking about him. Actually, I finished him, then didn't post any pictures in hopes of surprising my D&D group. This is a Mind Flayer, and they are meeeeeean.

The proces for making him was roughy the same as it was for all of the other minis I have made, so scroll down to the Evil Fred entry if you want to see the how-to.

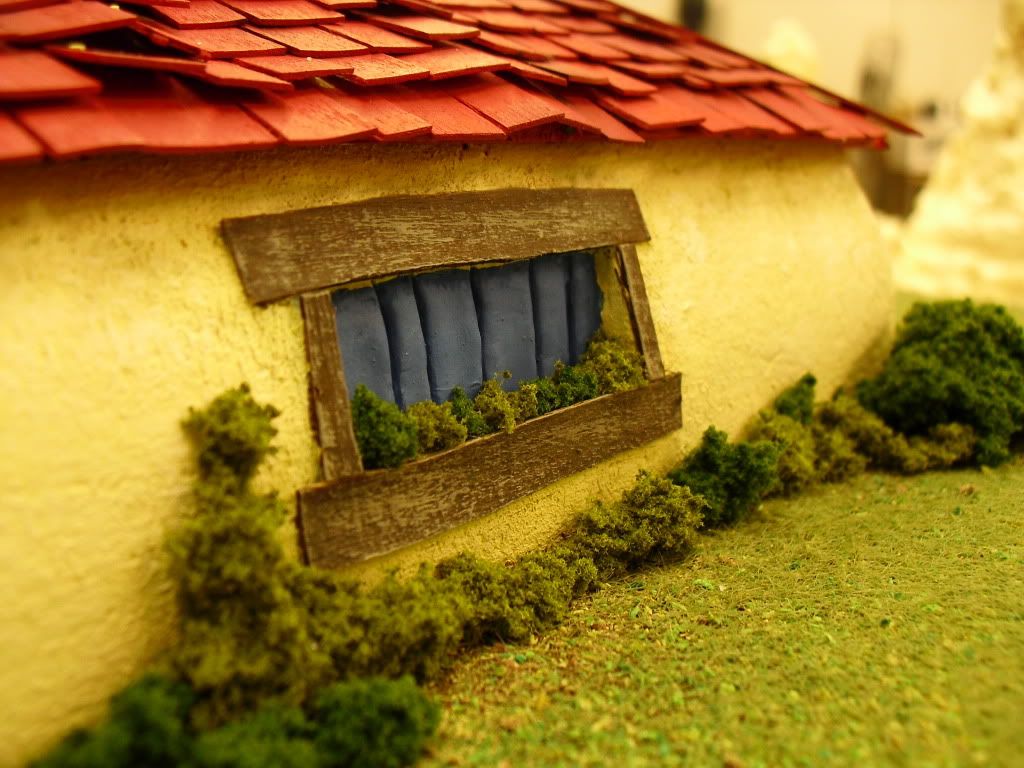
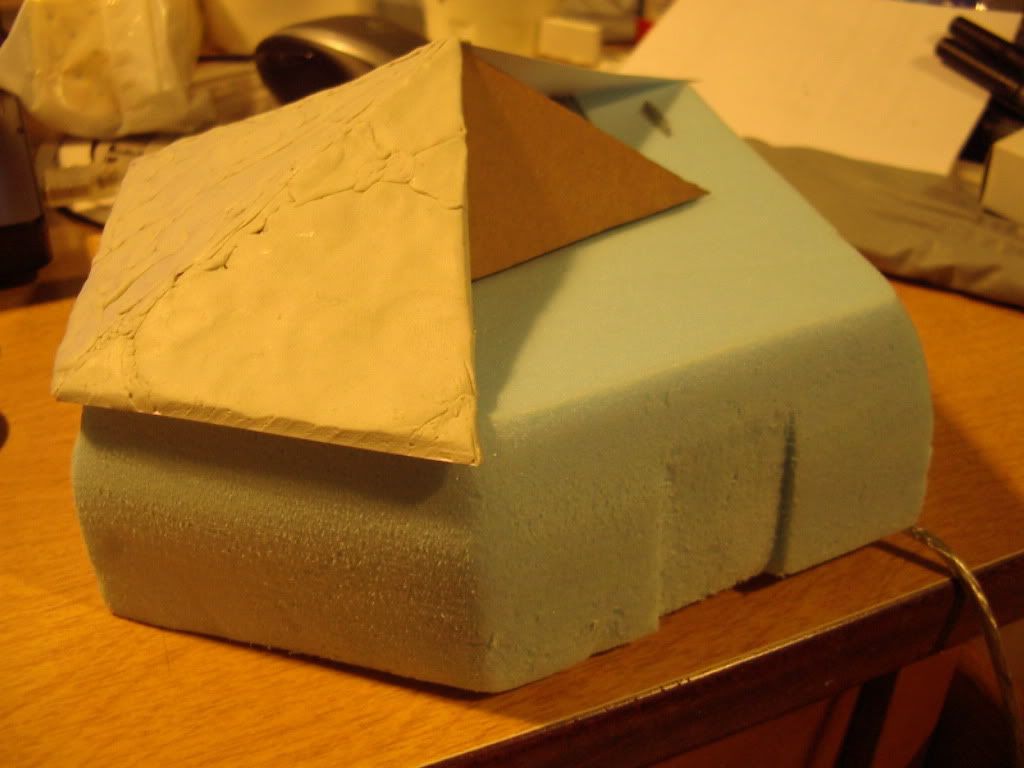
As a part of my Archipelago project which you may be aware of, I am making a little house for some of my little guys. Here it is as it currently sits. I am putting a roof on it so I can add shingles later on. You can also see the spot that will eventually hold the door. I also intend to put some windows on the outside.

That's all for now, folks!

Tuesday, September 15, 2009

Please Hold

The school year is getting quickly back into full swing, so I have considerably less time to work on my hobby-type stuff. I am the Vice President of the Gamers Council, the newly founded gaming club on campus. That takes up a chunk of my time, as does all of my readings and projects for class. Quite honestly it's all a real pain.

Anyhoo, once I head home I plan to put the matte coat on my Thrulgül miniature and get a picture of that up. Apart from that all I have to report is that I got some shiny new Winsor & Newton Series 7 Miniature brushes, which are specially made for use with minis. I'm excited to give them a try!

Friday, July 31, 2009

Wax Casting


I've been messing with casting stuff out of wax so that I can later cast stuff in metal. This was the first attempt that even came close to working. As you may or may not be able to see, it lost lots and lots of detail. This is a problem that I'll have to figure out how to fix. I think that perhaps sloshing the wax around inside would help a bit. Perhaps if I use a stick of some kind to prod the wax around the mold...

Anyway, we'll see how it works out.

Thursday, June 18, 2009

IT'S A NEW TRACK RECORD!


One day in the making, this mini is DONE.

I still have to paint her, of course, but that's not a big deal. If it's decent out tomorrow I may just spray paint her and the minis I got at that thing at Defiance. It'd be awesome if I finished her over the weekend.

Wednesday, June 17, 2009

D&D Minis


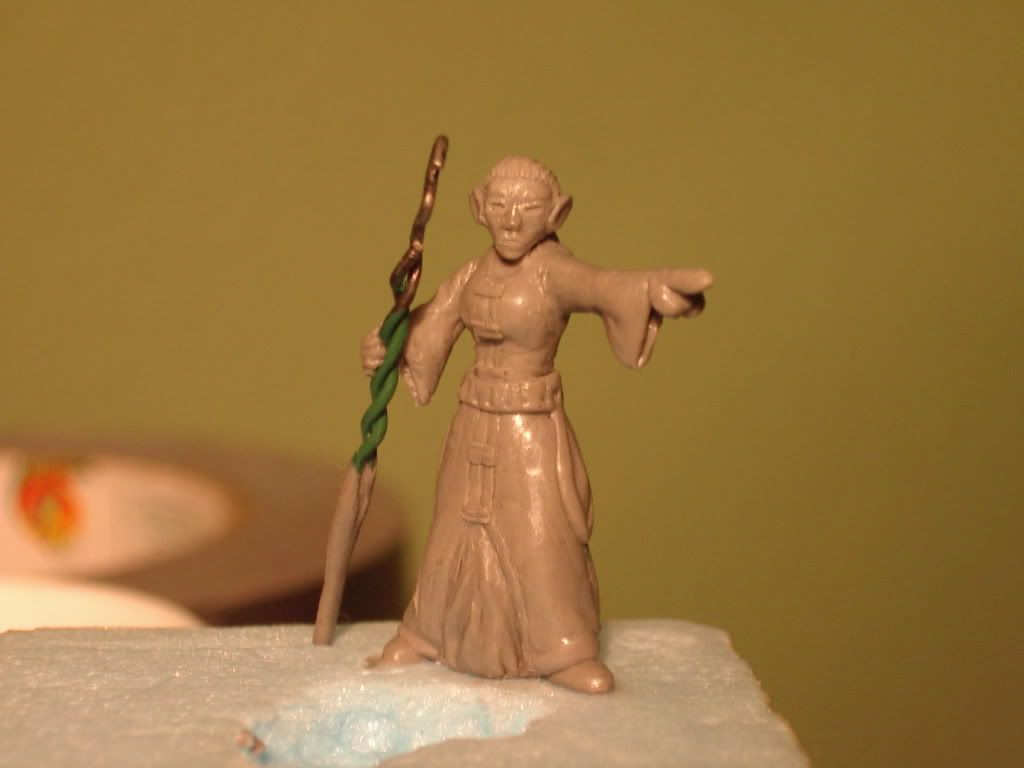
D&D uses a Battle Grid for combat, and on that grid an inch represents five feet. Because of this, keeping minis in scale makes them significantly smaller than any I've made before. The figure you see here is currently 3/4" tall, making it somewhat shorter than I was intending. I'm not sure if that's good or bad. In retrospect, I'm going to ajust the arms to make the end product taller. What we see here would end up being about 4 scale feet tall. That's just too short! My original goal was to get this mini to 5'5" scale feet. I'm gonna try to manage.

Wednesday, June 3, 2009

Welcome to Zoluto


I've recently started a Dungeons & Dragons 3.5 campaign for some of my friends. Here we see the world in which all of this take place. They started in the city of Tyrramere which is near the center of the map, and are now in the small village of Marna.

This is actually version 2.0 of this map. The original was drawn in 2007, and a few weeks ago I went through and changed a few names while adding a lot more.

This time I'm going to keep a detailed record of the world and its residents. By keeping this record, if the players return to a city, they can meet the same people that they met before. The places and events will also be recorded for future games.

Wednesday, May 13, 2009

Mini Island Prototype: In Progress

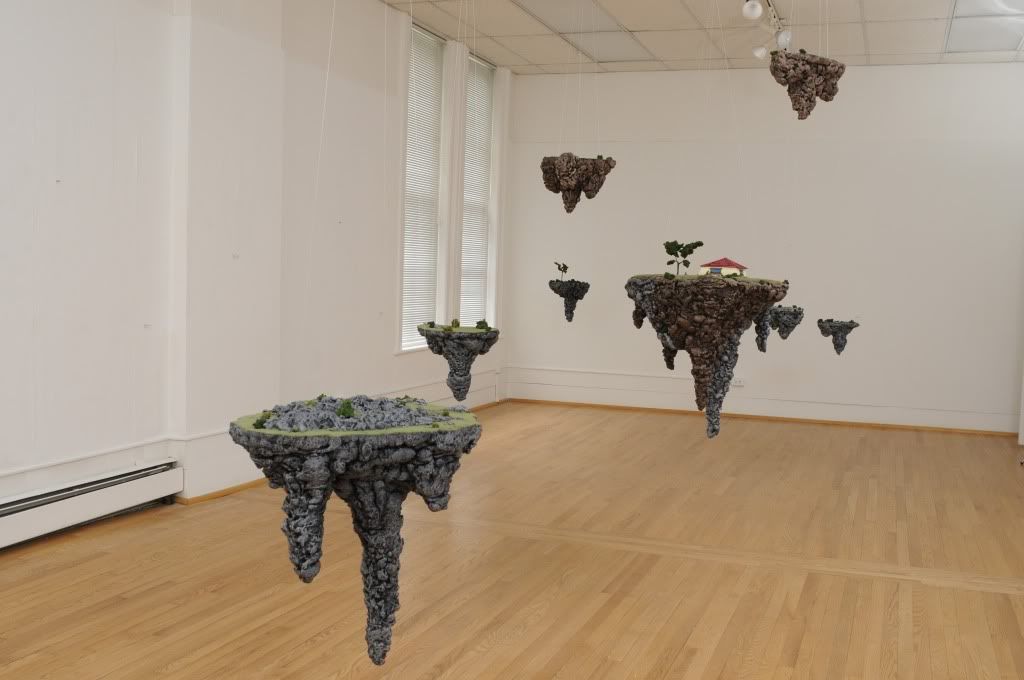
To those who DON'T know, part of my senior show will be a large multi-piece display of miniature islands suspended from the ceiling. I'm currently working on a prototype what is allowing my to determine potential problems and also work out the kinks in my techniques. I'm using a combination of foam, hardboard, chicken wire, and paper mache. I plan on finishing this one completely before I show it off. You've seen The New Yankee Workshop, right? Always complete the prototype before the show starts! Afterwards, I'll have various step by steps and work in progress images of the later models.

Just you wait and see. It's gonna be great.

Wednesday, April 29, 2009

Self Portrait: Hot off the Press

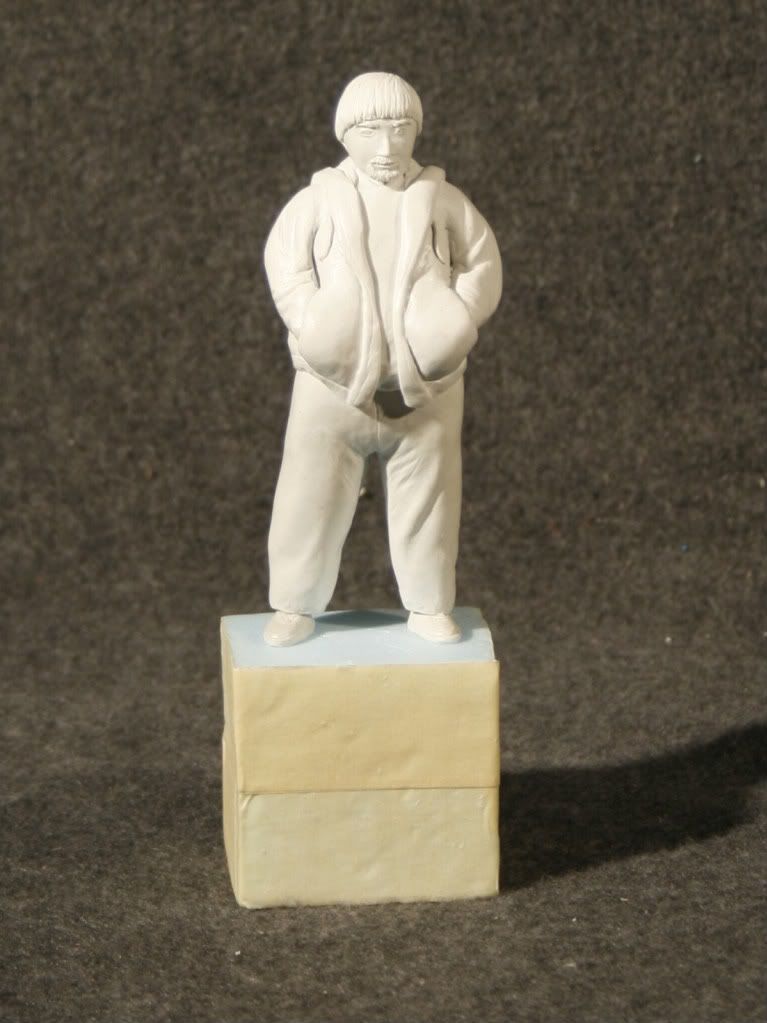
Here is a piece of work that I "finished" some weeks ago. I believe it turned out well as I have been recognized by people who have seen this mini.

Originally I was gonna paint this guy, but it turns out that I didn't have time and my professors thought I should leave it unpainted. Over the summer I plan to make a mold of this and cast several replicas. I can then leave the original unpainted and do whatever I want with the duplicates.

More to come later, I'm sure.

Sunday, April 26, 2009

Figure Studies


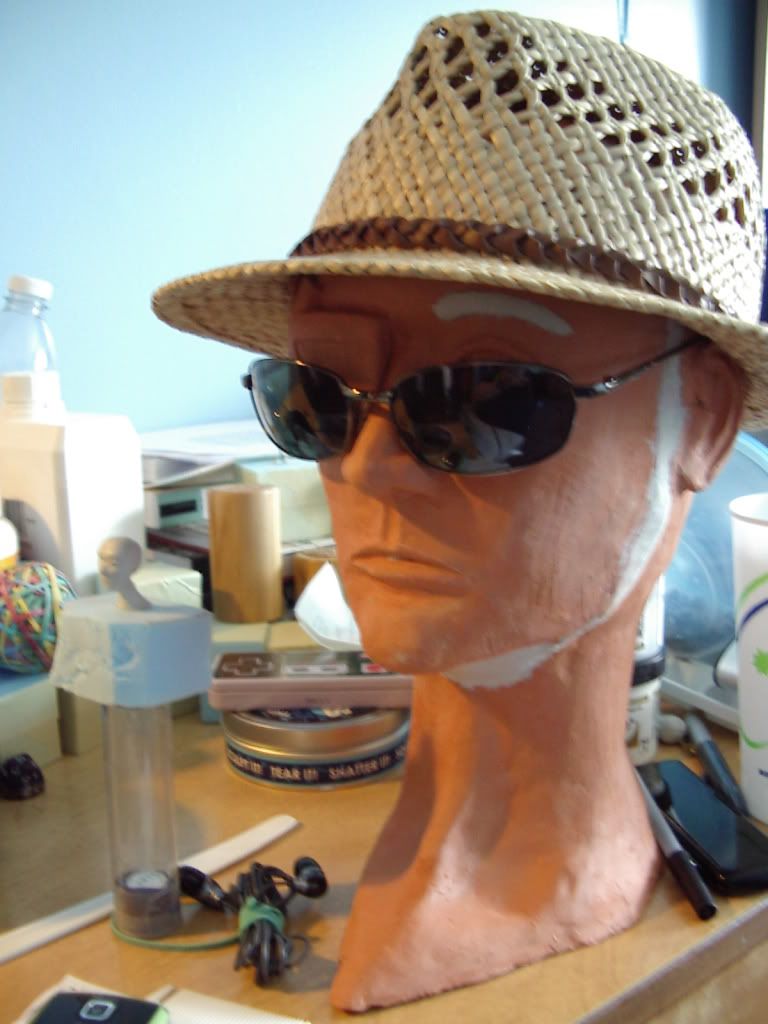
As part of my Figure Studies critique, I needed to finish up the ceramic bust I made in class. As you can see, it's 1:1 scale, as it can wear my hat and shades. Next to it you can see a mini bust I'm working on as well!this way you can kinda see the scale I'm working in.

it's mostly terra cotta, but the white bits are epoxy putty. The reason it looks like he has a beard is because his face kinda, well fell off. I used the putty to clean up the seam and also as my adhesive. I also added an eyebrow for good measure.

Starting next weekend I'll be working on my Senior Show, and thus I'll be setting up a little miniatures workshop at home. I hope to have a mess of armatures within a few days of getting home.